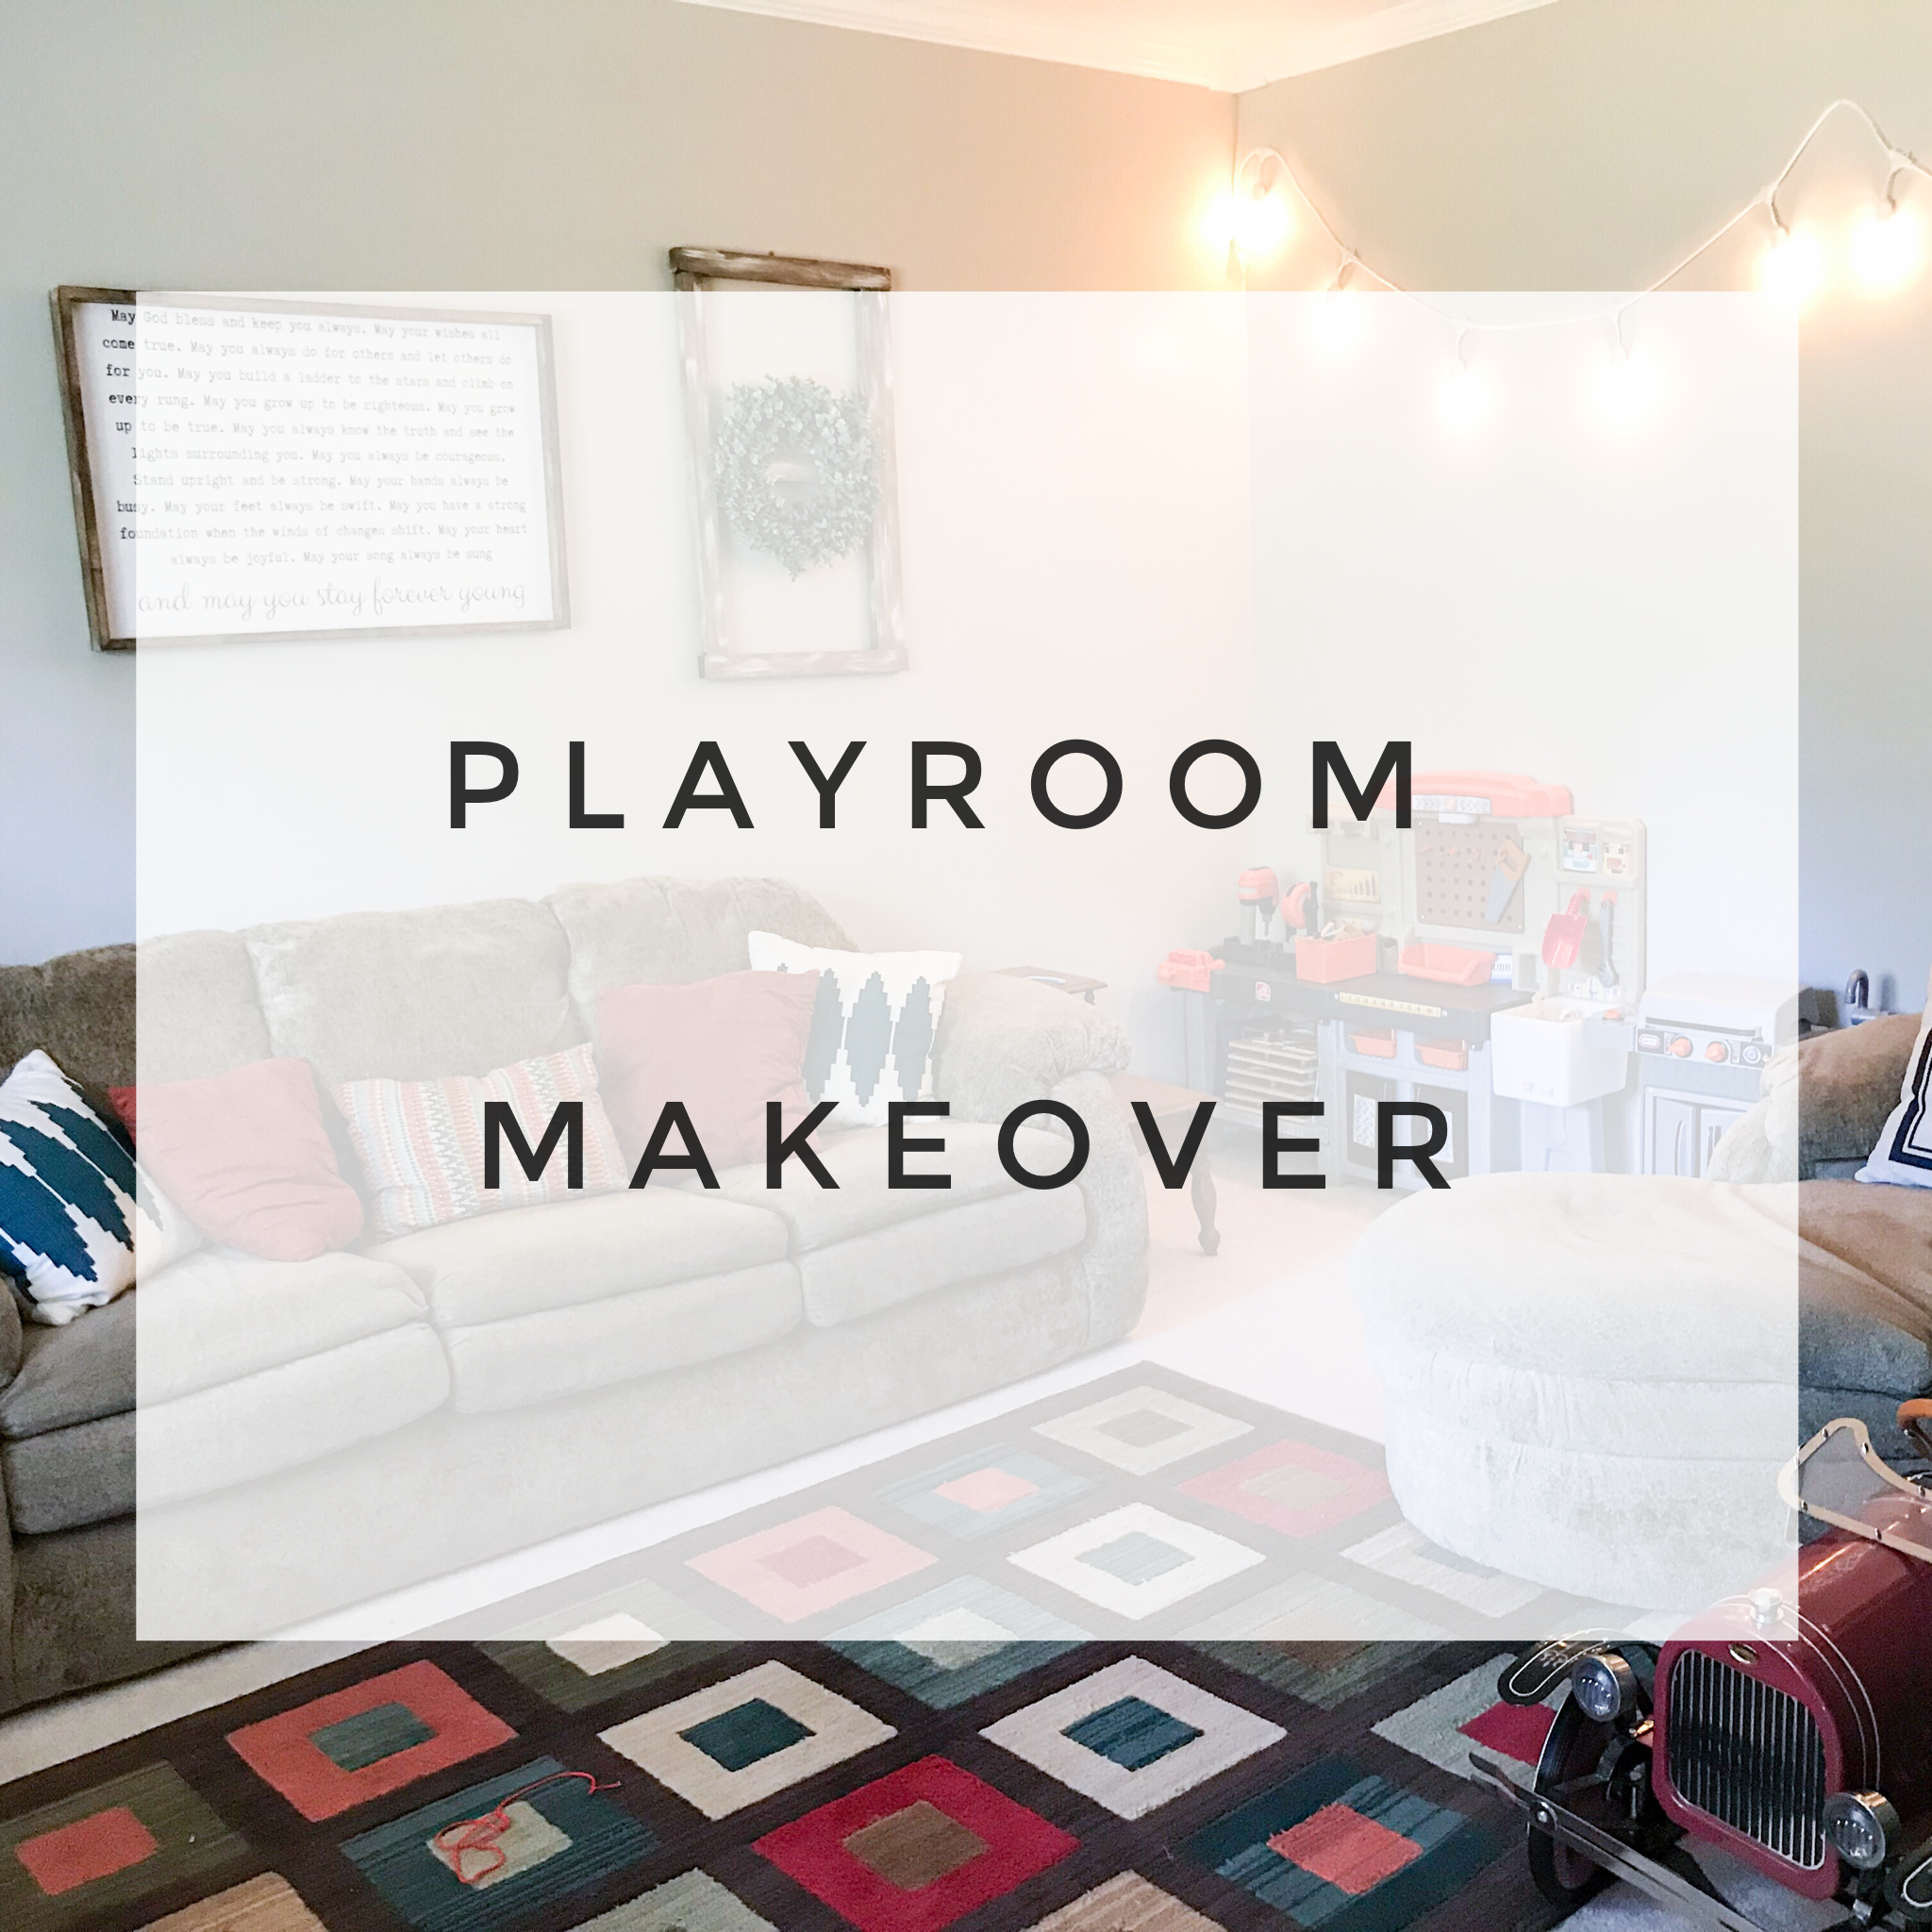
It’s been a few weeks since we finished up the playroom makeover, and I am so in love with the results! It is definitely my favorite room in the house right now. It was also really fun for me to seen so many DIY projects that I had in my head come to life.
Let’s begin with where we started, shall we? 

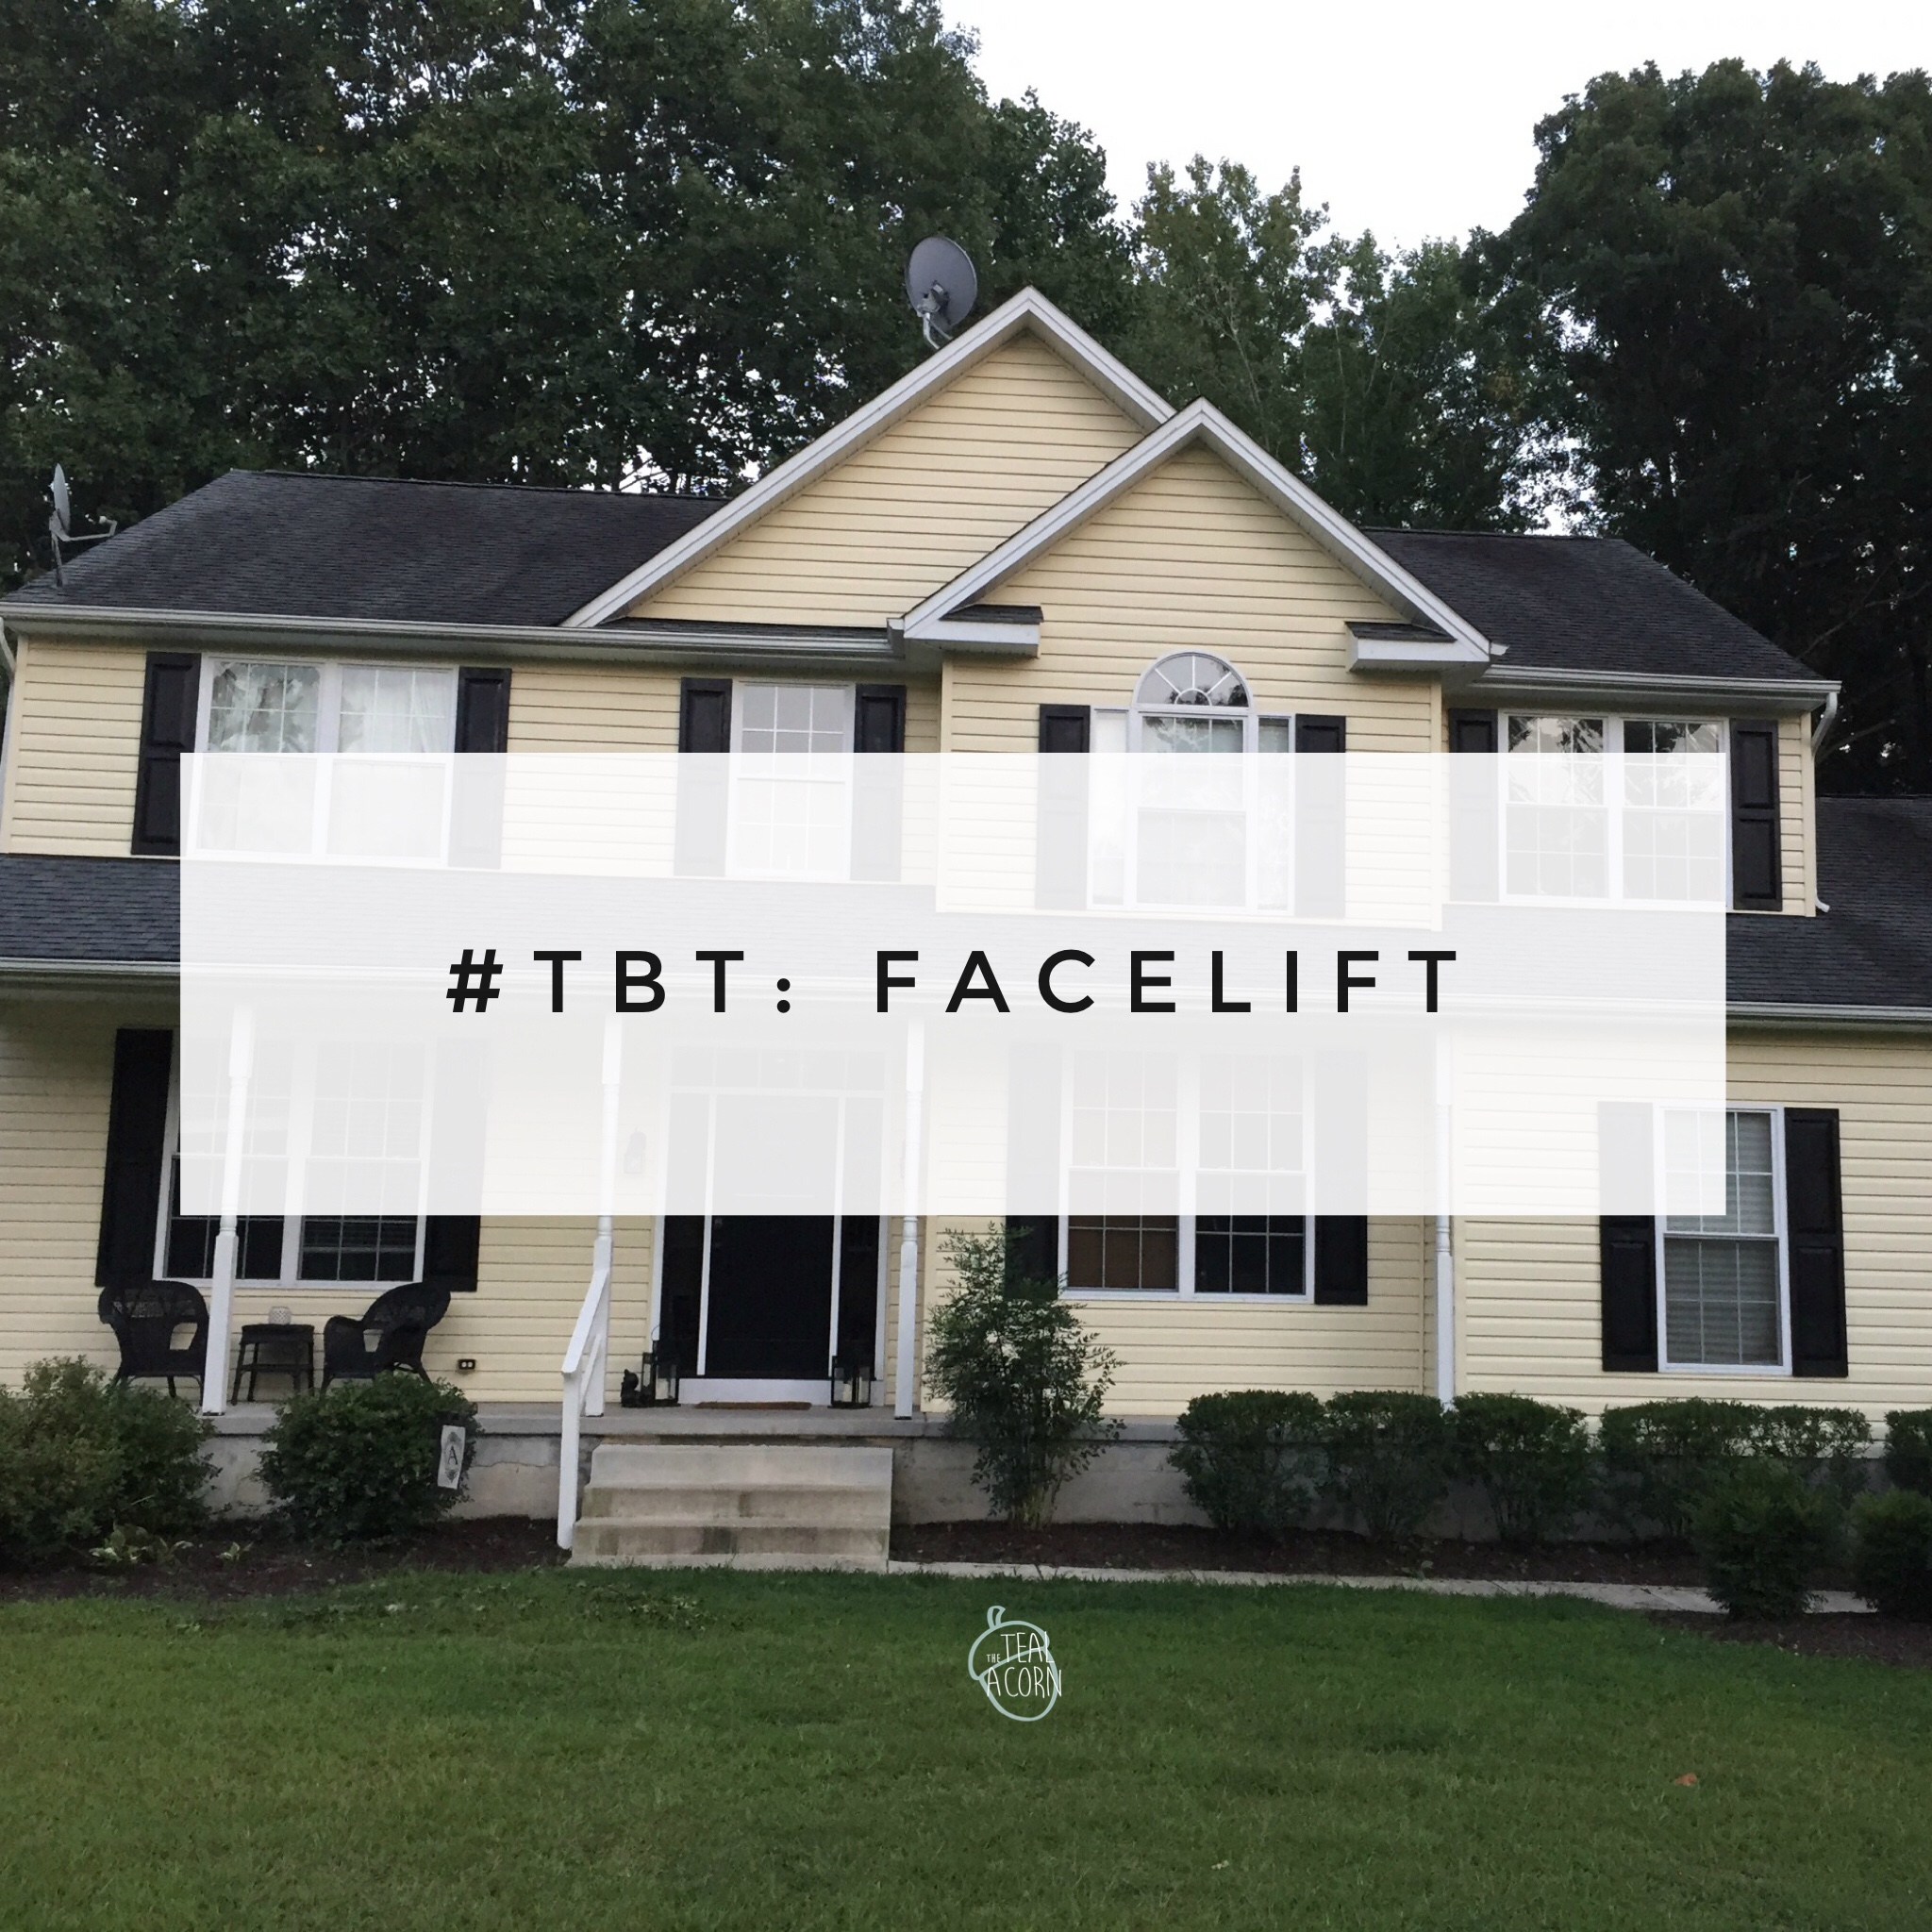
I don’t have any true “before” pictures that show the entire room. I was too excited before we started painting, and the paint job was so bad that I didn’t take anything it close ups before that anyway.
When we bought the house, this room had been closed on with a very ugly door and a makeshift closet that hid the room’s only light switch in the back of it. The walls were covered in unsanded sparkle. It was all just a mess. We just used it as storage until right after Drew was born. We cleared it out and painted it, and moved our old living room furniture into it. We intended it to be a den/T.V. free room. As new parents, we vastly underestimate how quickly toys accumulate; it didn’t take long for us to shift it to a playroom.
So why re do a room we just did less than 3 years ago? Well… while I love the initial color we chose, it made the room too dark in my opinion, especially as a playroom. We also made the mistake of not priming before we painted, so at certain times of the day, allll those old spackle spots were super visible.
So a few weeks ago, I grabbed some of the untainted cans of paint we had in the basement, got them tinted, and went to work!
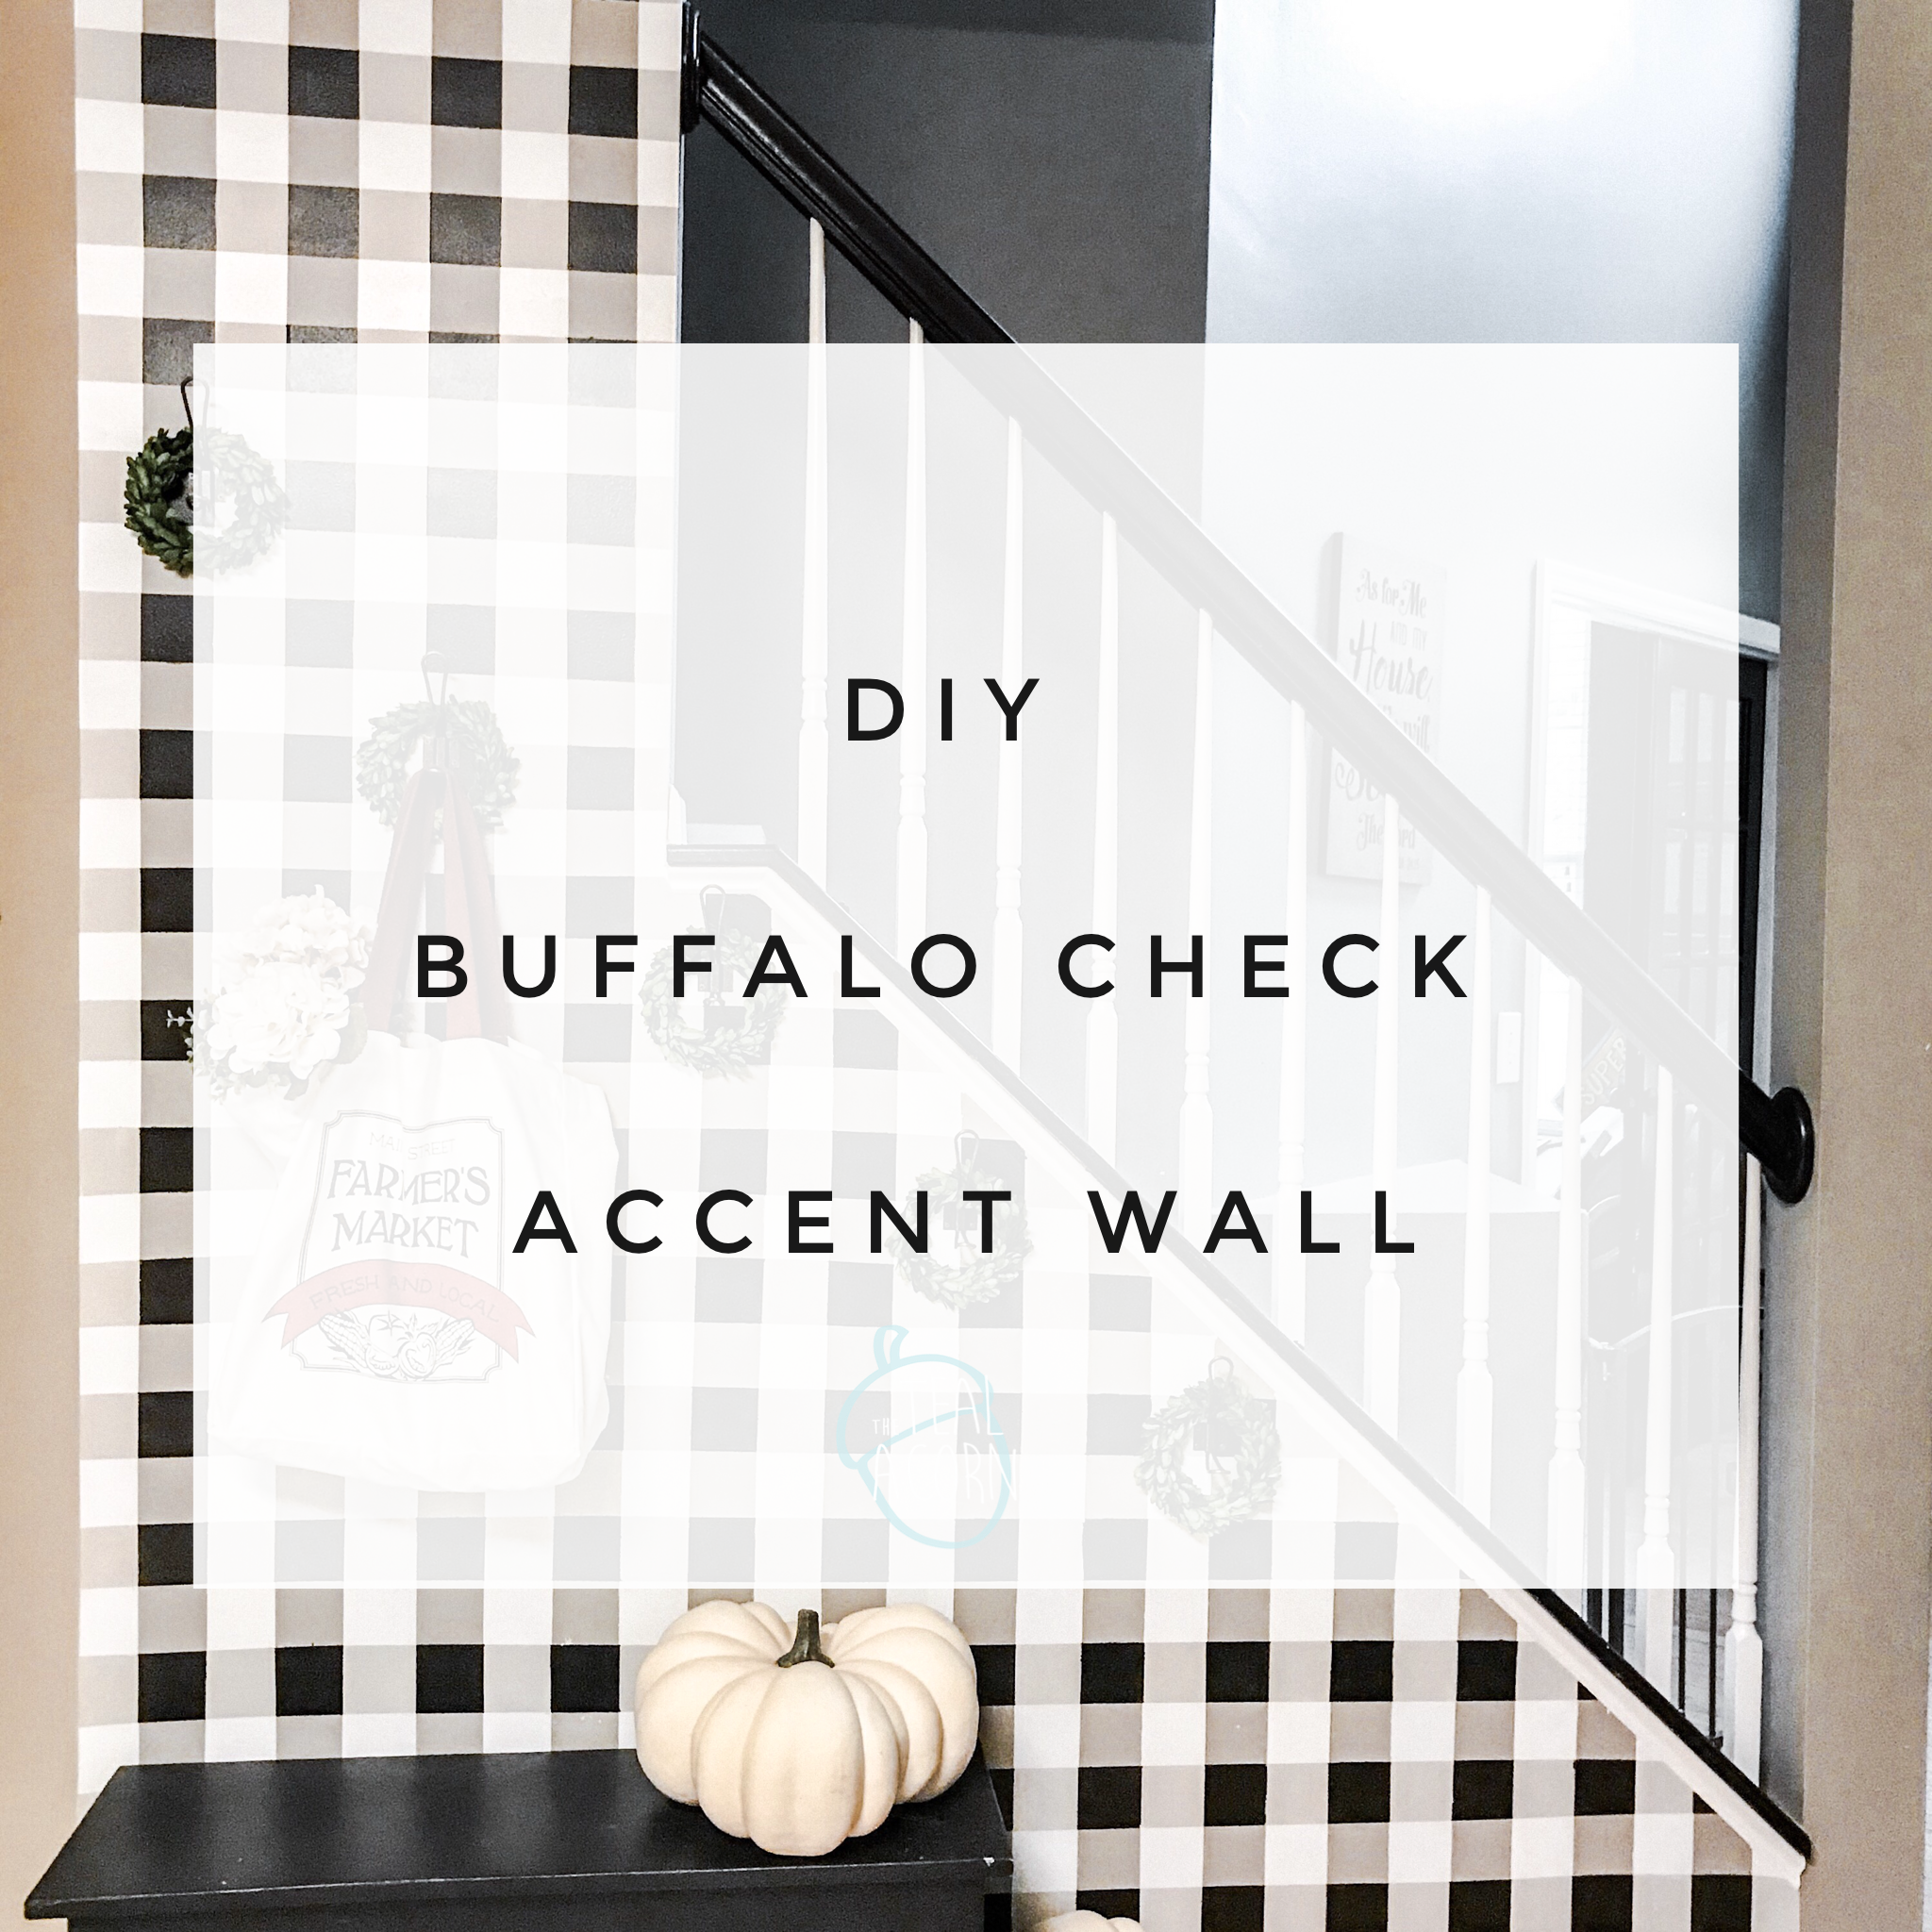
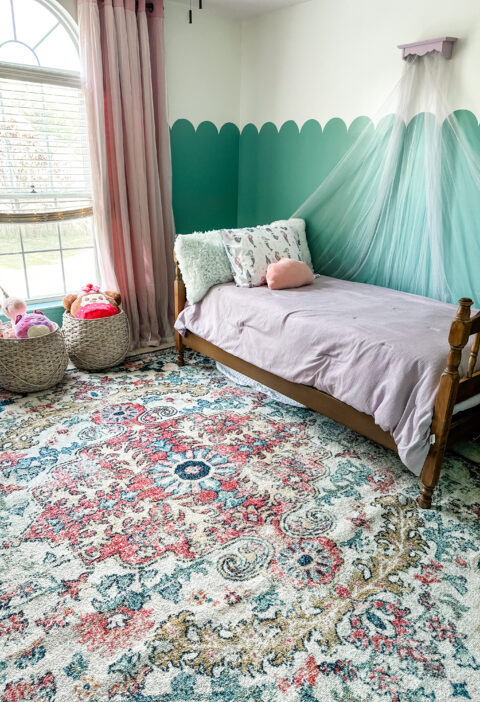
I wanted a light neutral color overall and wanted to do and accent color on the two walls that you could not see from the hallway. I waned the accent wall to resemble a vintage chalkboard, which I think that Kendal Green from Sherwin Williams really did the trick!
For my neutral, I went with Colonnade Gray, also by Sherwin Williams.

I LOVE how it turned out!


We kept the same lamps, furniture, and (for now) curtains and pillows. We moved in the rug that we recently replaced from the kitchen too. Initially, that was just to have a place to ‘store’ it, but I actually really like it in there.
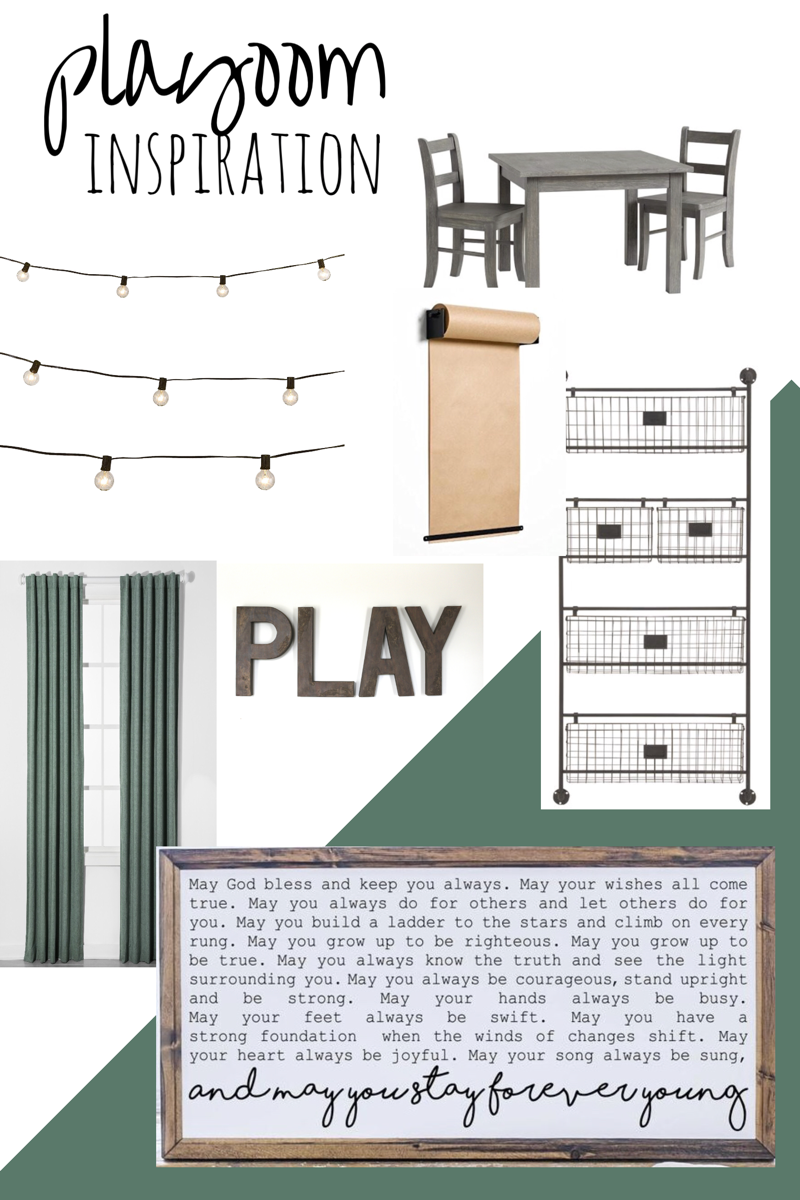
I scored e Edison bulb lights for $9 at Target on their clearance rack. I am so happy I found them, because I think they are what really make the room. Drew loves them too! When we first showed him, they were what he was the most interested in.

I may add big galvanized letters that say “PLAY” under them, but I’m happy with just the lights for now.

This sign was a DIY dupe for Smallwoods brand sign. It cost me $10 vs $70+!
The window on either side were grabbed from my stash (that’s normal to have, right?) I distressed them and added some TJ Maxx boxwood wreaths with a couple zip ties.

The rustic photo and art display was inspired by @mrsdiy_ on Instagram. I wanted something to display Drew’s coloring pages and projects. This was an easy way to do it and be able to change them out easily.

I found this vintage looking alphabet poster and thought it would be perfect! I made a simple hanging frame for it and voila!

I rehung the coat hooks that we had behind the door before we painted. We don’t have an actual closet downstairs, so this is where we actually store our coats in the winter.

It’s so hard to get a decent picture in front of the window, but here is where Drew’s toy box and some ride on toys live. It may not be Instagram worthy, but it’s real life, amiright?

This little corner is probably my favorite. I added a little table for Drew to do his puzzles. I also set up this little framed chalkboard paper thing (that’s the technical term, in case you were wondering) that I found in the Target dollar spot. I took the risk that he may chalk on my walls, but so far, so good! He even figured out that the inside of the frame works as a little ledge to hold his chalk!

That’s all for now! What do you think?