
Today I’m sharing how I made a took a thrifted plastic Jack o’Lantern and turned it into a Pottery Barn inspired terracotta pumpkin.

I found this little guy at goodwill towards the end of summer for a whopping $2.

Quickly, I scooped him up and brought him home with the intention of making him into a terracotta looking pumpkin.

I started by mixing a couple of colors together to get a color that I liked.
Once I had that, I mixed in a heeping tablespoon of baking soda. This gave it a nice thick, texture.
I painted on a couple coats, using a basic brushing motion.
For the second coat, I worked in smaller sections and sprinkled some baking soda on top with the hope that doing so would create some of that flaky texture that the real ones had.

When applying the third coat of paint, I changed up my application and started to dab the brush instead is swiping. This added even more of a texture than before. It also helped with the clumps of baking soda that I’d added by not wiping them off as I painted.

When all was said and done, I didn’t like the color when it was compared to the real Pottery Barn one. I grabbed a darker color and painted it with it. I did not add any baking soda this time.


This got the color much closer, but I didn’t want the color to be one dimensional. I went back in with sprinkling a light dusting of baking soda while the paint was just barely wet. Once it all dried, I took a dry brush and brushed the loose baking soda around/off of the pumpkin.

At this point, I decided that the inside wasn’t going to stay its original creamy white. I removed the bottom and painted the inside with just the darker color.
Finally, I dry brushed a little of the darkest color to highlight the texture some more and add some more dimension.

This image below shows each phase and how it kept getting closer and closer to the original:

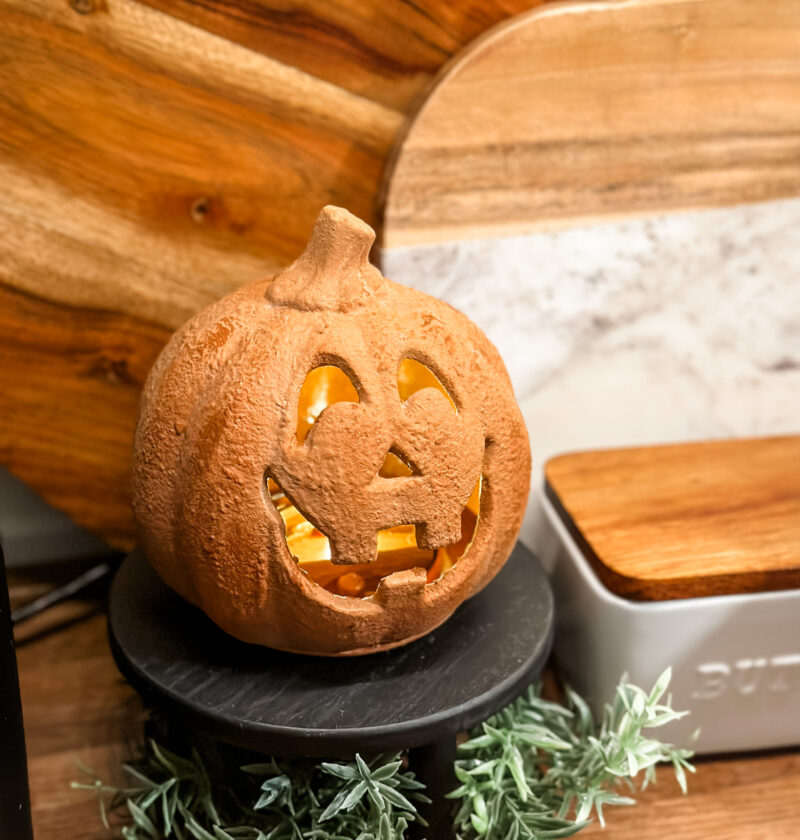
This is the final look:

What do you think of these Pottery Barn Inspired Terracotta Jack O’Lantern?