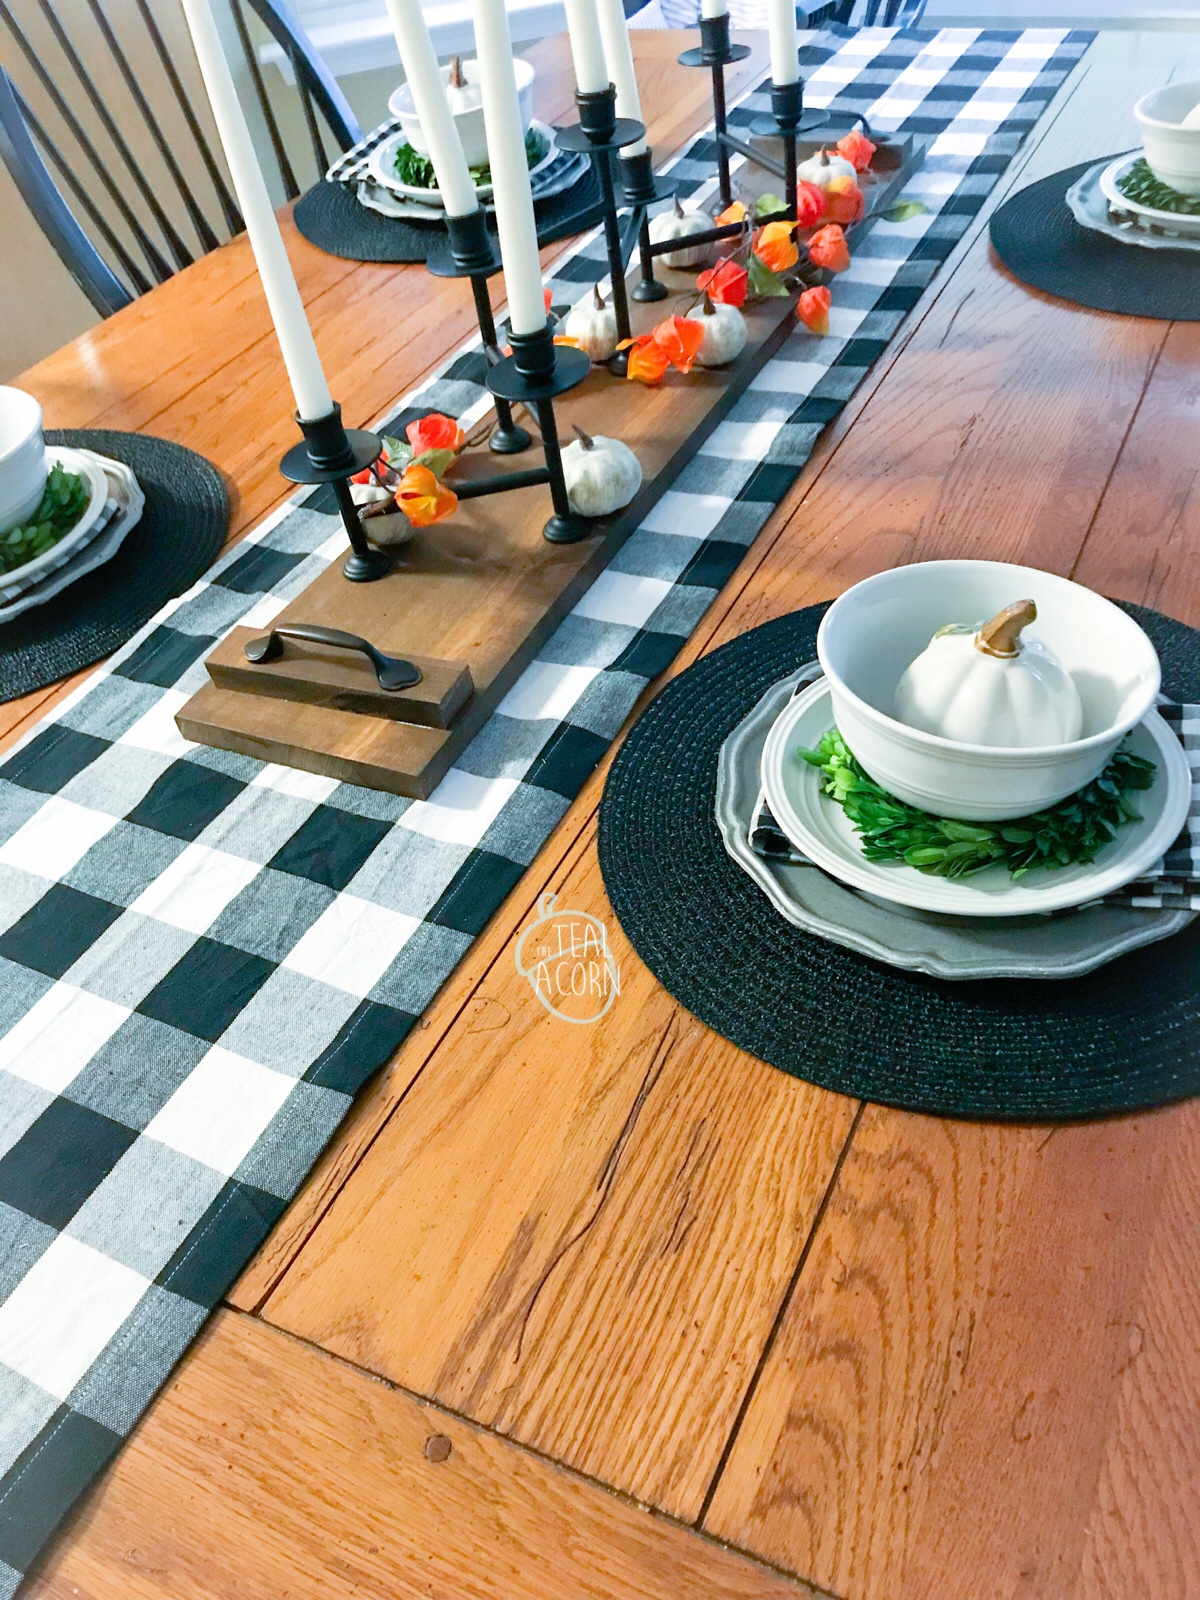
I made this cute little DIY board tray last week for my dining room table, and it was super easy!

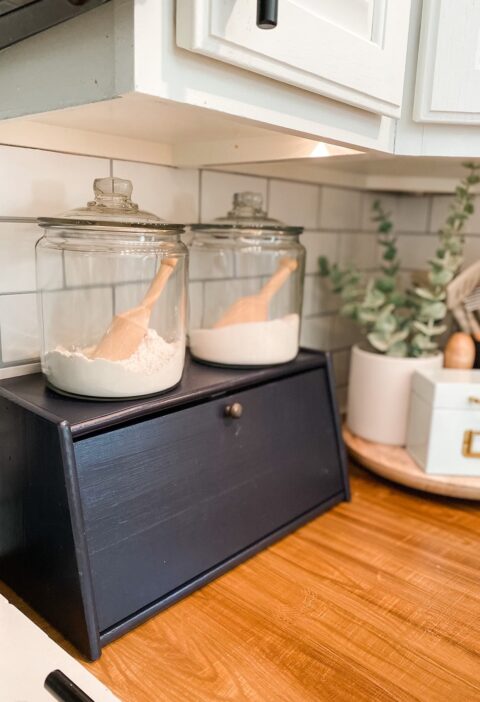
I had this black candelabra that I wanted to use, but I needed something to breakup the black between that and the buffalo plaid table runner ( that is only $8!!) 
It is extremely simple in its design, which made it a very quick project.
The wood I used had been a wall shelf behind our couch that I took down. Already stained, it was roughly 6″x6′. For my particular use for it, I cut it down to about 3.5′. Then I cut two roughly 1″ strips from the end.
I didn’t take any photos while I was cutting, but here is a little graphic I made to help visualize what I am explaining:

The only thing that was slightly tricky was attaching the handles. I wanted to add some hardware, and in doing that, there was bump from the hardware screw that prevented it from laying flush against the tray board.
 I used a drill bit the fit the screw to pre-drill a hole to attach the drawer pull to the wooden handle.
Then I marked out where they would like up on the tray, and used a drill bit the same size as the head of the screw and made a divot in the tray for it to fit into. I used some liquid nails and clamped the handles in place. After the glue was set, the tray was all done! I am super pleased with how it turned out!

One more thing to note- the board had been previously stained with a stain that I no longer had. I only had to do the edges that I cut, so I used the baby wipe method. The baby wipe method takes acrylic paint (the perfect match to this was Apple Barrel acrylic paint in Nutmeg) and apply it to your piece with a baby wipe. The moisture in the wipe waters it down to make it appear like a stain. It was the perfect, quick way to get all of my edges finished for this project.