A lot happened this week! A lot of painting and something brand new for me… electrical! Let’s get into it!
Light Fixture and Mount
I FINALLY got the light done! I am reusing the old vanity light, but I wanted to update the color to black. I just used some black spray paint- simple update!
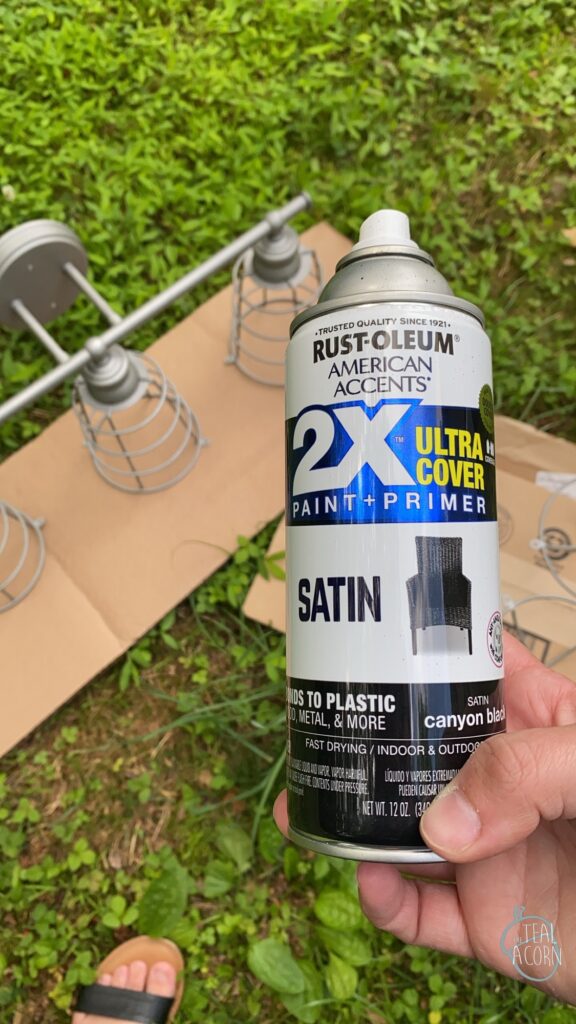
Here’s a tip for painting lighting fixtures: Use aluminum foil to cover the wires and to stuff where the lightbulbs screw in. It’s quick and effective!
Painting it was not a big deal, but I am so excited and proud of myself because I took down the light and hung it back up all by myself! It ended up being a pretty simple task, but I was pretty intimidated to get it done.
I had mounted the old light on a piece of rough pallet wood; I thought that it was because there was drywall patching that needed to happen that I didn’t want to tackle before. It turns out it was because there were no studs around where I needed them to be to hang the light where I wanted to.
I decided not to reinvent the wheel, but rather just make it prettier.

I checked my wood stash and found a 6″ board that was 18″ long. This was just the right size to mount to the studs on either side of where I wanted the light. Before I hung it, I drilled a whole in the middle that was wide enough to pull the wires through. I also made tow pilot holes on either side as well as a countersink for my screws. This way, once it was mounted, I could fill , sand, and paint for a seamless finish. I mounted the board to the studs and then the mounting hardware for the light to the board. It was basically the same set up as before but I used a smooth, shorter board and painted it the same as the wall- sponge paint and all! I caulked the seems around the edges and voila! It was ready for the light.

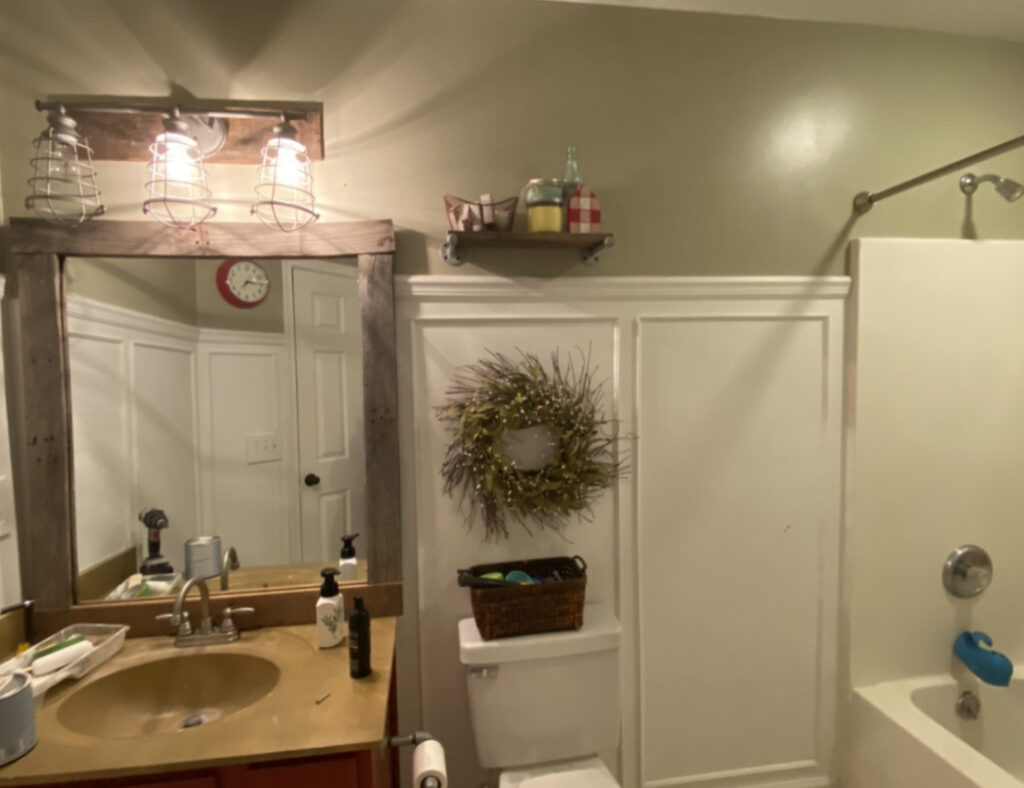
Obviously, it is visible, but I like that it blends nicely into the wall versus standing out the way the old one did.
Updating Tub Fixtures
I wanted to update the tub hardware to black. I decided to try spray painting it… spoiler alert, I am very happy with how it turned out, but I am interested to see how well it holds up.
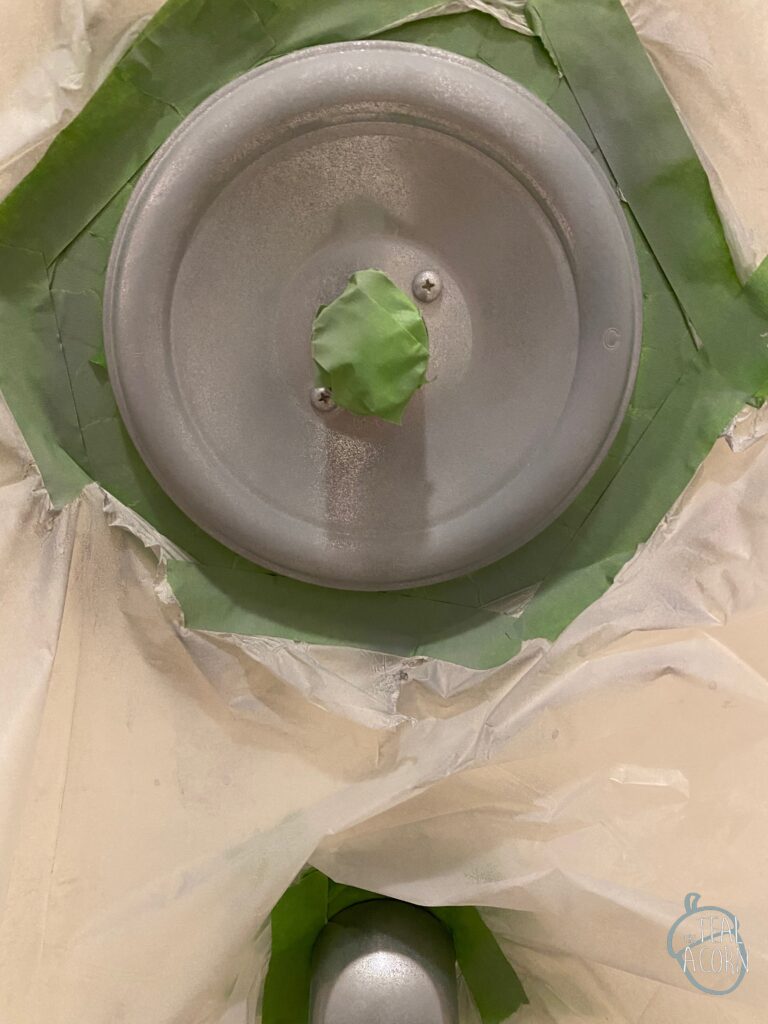
First, I taped around all of the hardware and removed the plastic knob. To do that, I popped off the cap (as you can see in the photo) then unscrewed the screw in the center. It slid right off after that!


I used a sanding block to scuff up the finish on the fixtures, then I used a plastic drop cloth to cover everything I didn’t want painted.
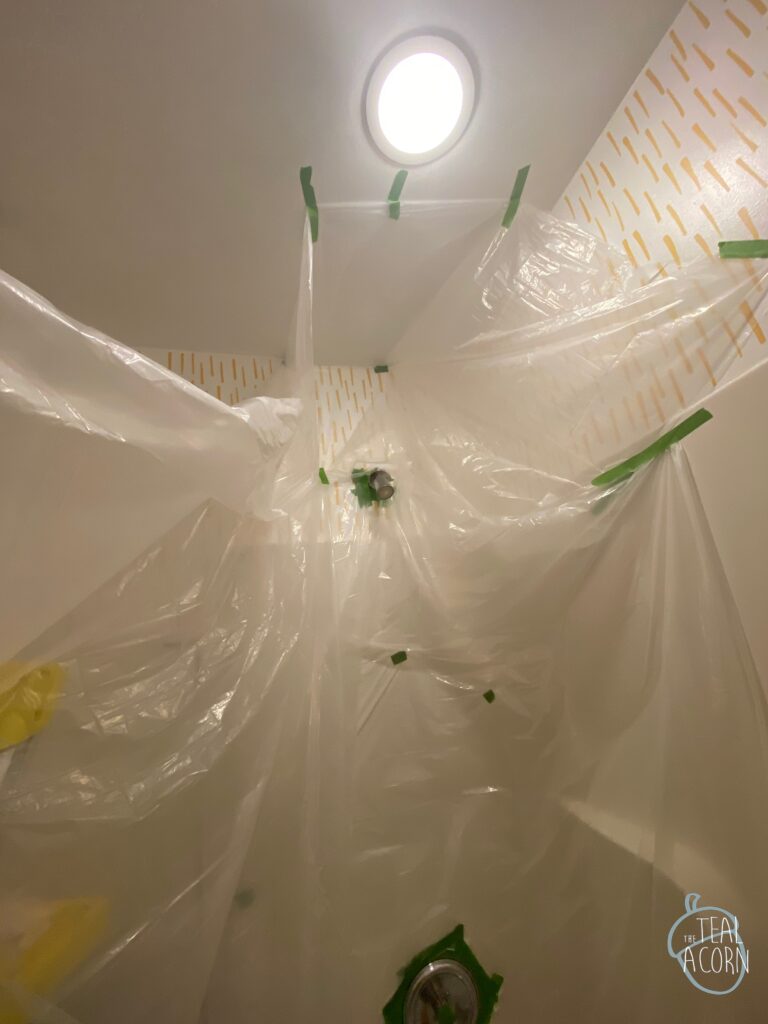
I started hanging it at the top by taping to the ceiling about halfway back. I looped tape to keep it back in the corners about the showered. I poked holes where the fixtures needed to come through and made sure the opening was all taped up.


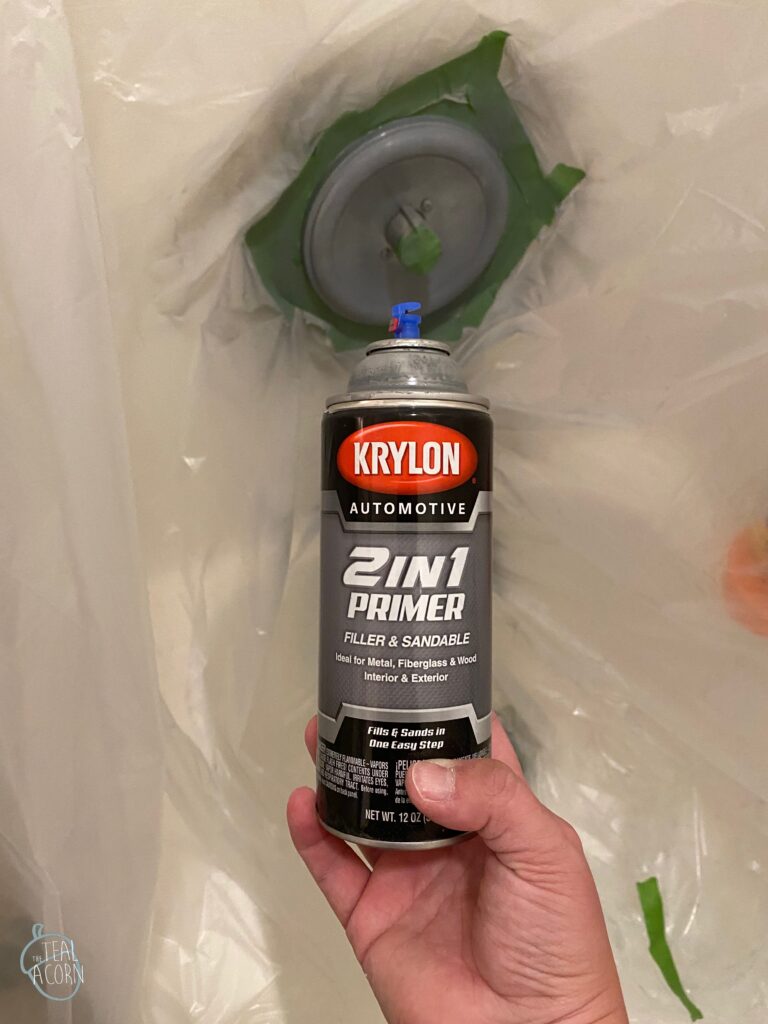
I started by using automotive primer.

I did a few light coats of the same black spray paint as I used on the light, let it dry, and removed the plastic and tape. It all turned out pretty good if you ask me! Like I said before, it is going to be interesting to see how it holds up to being used and cleaned, but I am feeling confident!

Wall Prep
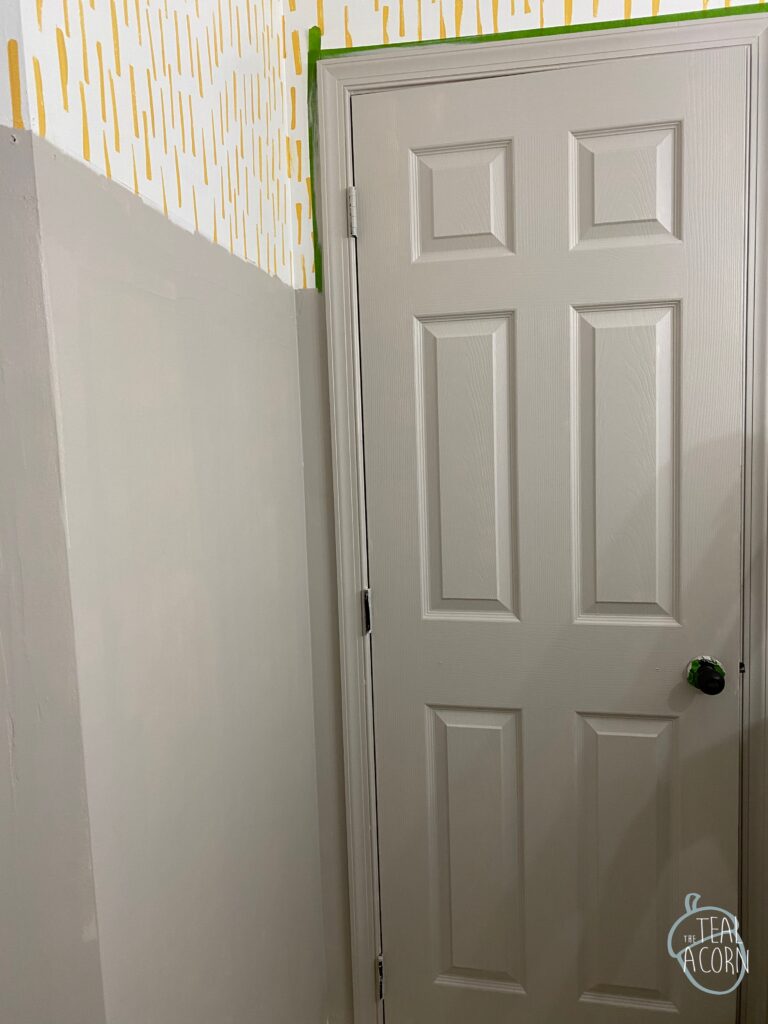
My final thing I accomplished this week was fixing up the last of the walls and starting to paint the bottom half along with the door.

The gray I am using on the bottom of the wall and door are all Alpaca by Sherwin Williams. It is the same color we used in our bedroom when we repainted it a little over a year ago. We still had an entire unopened gallon, so I thought it’d be perfect to used un this project.

Before I painted, I had a lot to fix. I mentioned a couple weeks ago that I stumbled on an article that had information about patching walls like this after I had already haphazardly fixed the other side of the room. This time, I could put the information to good use! It stated to prime a wall that had exposed paper like I have. First, I knocked off the loose stuff with a sanding block, then I used the same paint I’d used for the top half and painted over it. I used the paint just because it was convenient and I figured it would work similarly. It worked like a charm!
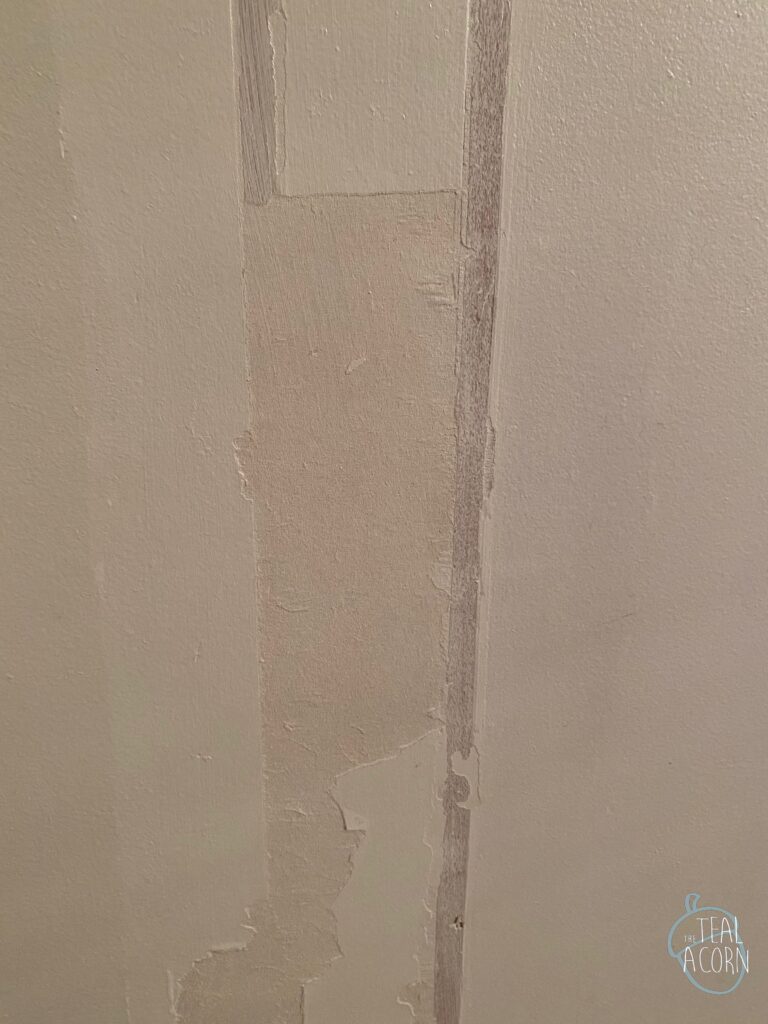
After the paint dried, I used my color changing sparkle and filled in any low spots.

I do have to say, it was a much nicer finish on the wall that I did this process to versus the other walls. I would recommend this method!
Whew! It was a lot this week, but it needed to be! I cannot believe we have ONE week left of the challenge. If you made it this far, thanks for sticking with this post to the very end!
Be sure to check out what everyone else got done this week too!