
Today I’m going to be sharing with you how I made these DIY pumpkin topiaries!

They are so easy and can be customized to your color scheme/tastes with easy swaps.
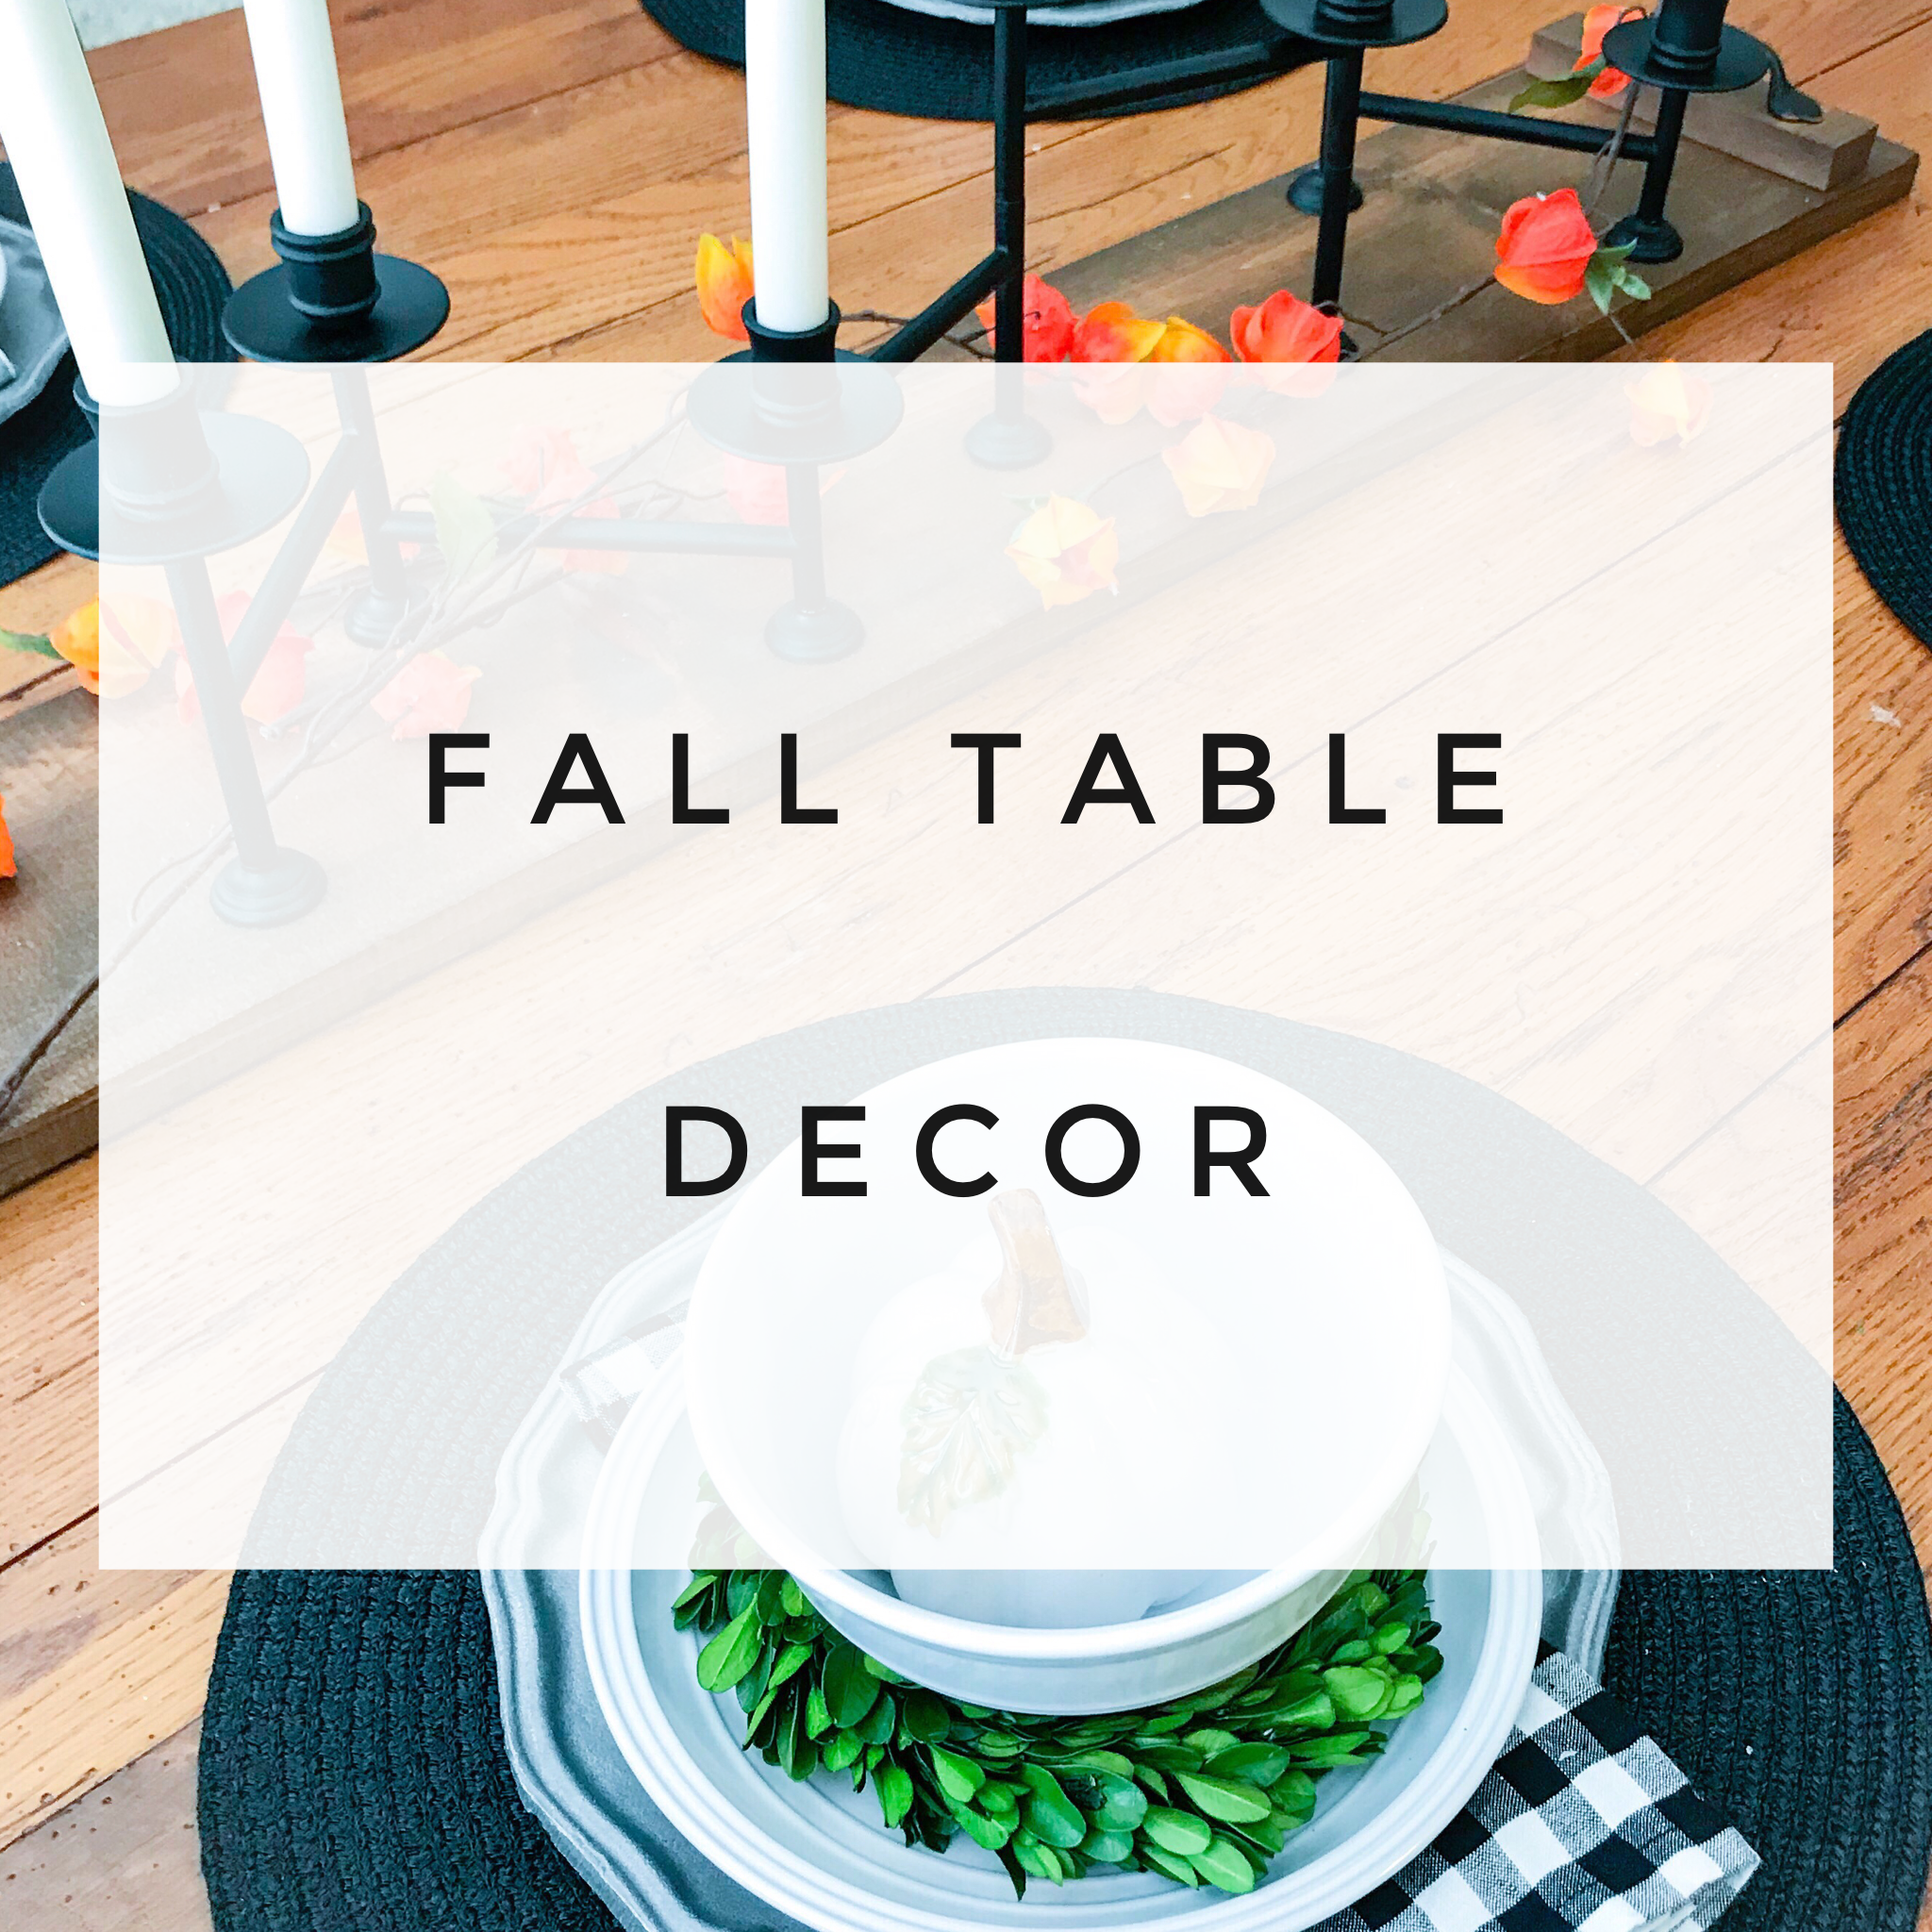
I started with my planter as a base. You can see some green poking through the top- ignore that… it’s just my fake grass that I tucked inside for storage (lol!).

I took the largest faux pumpkin that I had in my collection and sat it on top of the planter. Once I’d gotten the whole thing put together, I did end up adding a box underneath of it to raise it up a bit more.

I removed the stem- now this may be scary and you may feel like you’re ruining your pumpkin BUT rest assured, they come out pretty easily and can just be stuck right back in later.

Then I took a thick skewer- and broke it to make it a little shorter. I stuck it inside the bottom pumpkin with the pointy side facing up.

Then you take the next pumpkin you’d like to use and stick it onto the skewer.

Now my pumpkin happened to be a grapevine pumpkin, so it didn’t create any holes. Obviously, if you stick a foam pumpkin on the skewer it will create a hole. The way I look at it though, the hole is on the bottom of it, so when I use the pumpkin differently in the future it’s unlikely the hole will be visible.

Next, I took a garland that I found at Hobby Lobby and wrapped it around the bottom pumpkin.


I cut the garland and took the rest of it to wrap around the top pumpkin.

That’s it! Although I did end up adding some battery powered string lights to them. I wrapped them into the garland and had them set on a timer to come on at dusk.

I loved how they turned out and was so pleased that I was able to use mostly items I already had to create a new look!

Would you try this? Let’s chat in the comments!