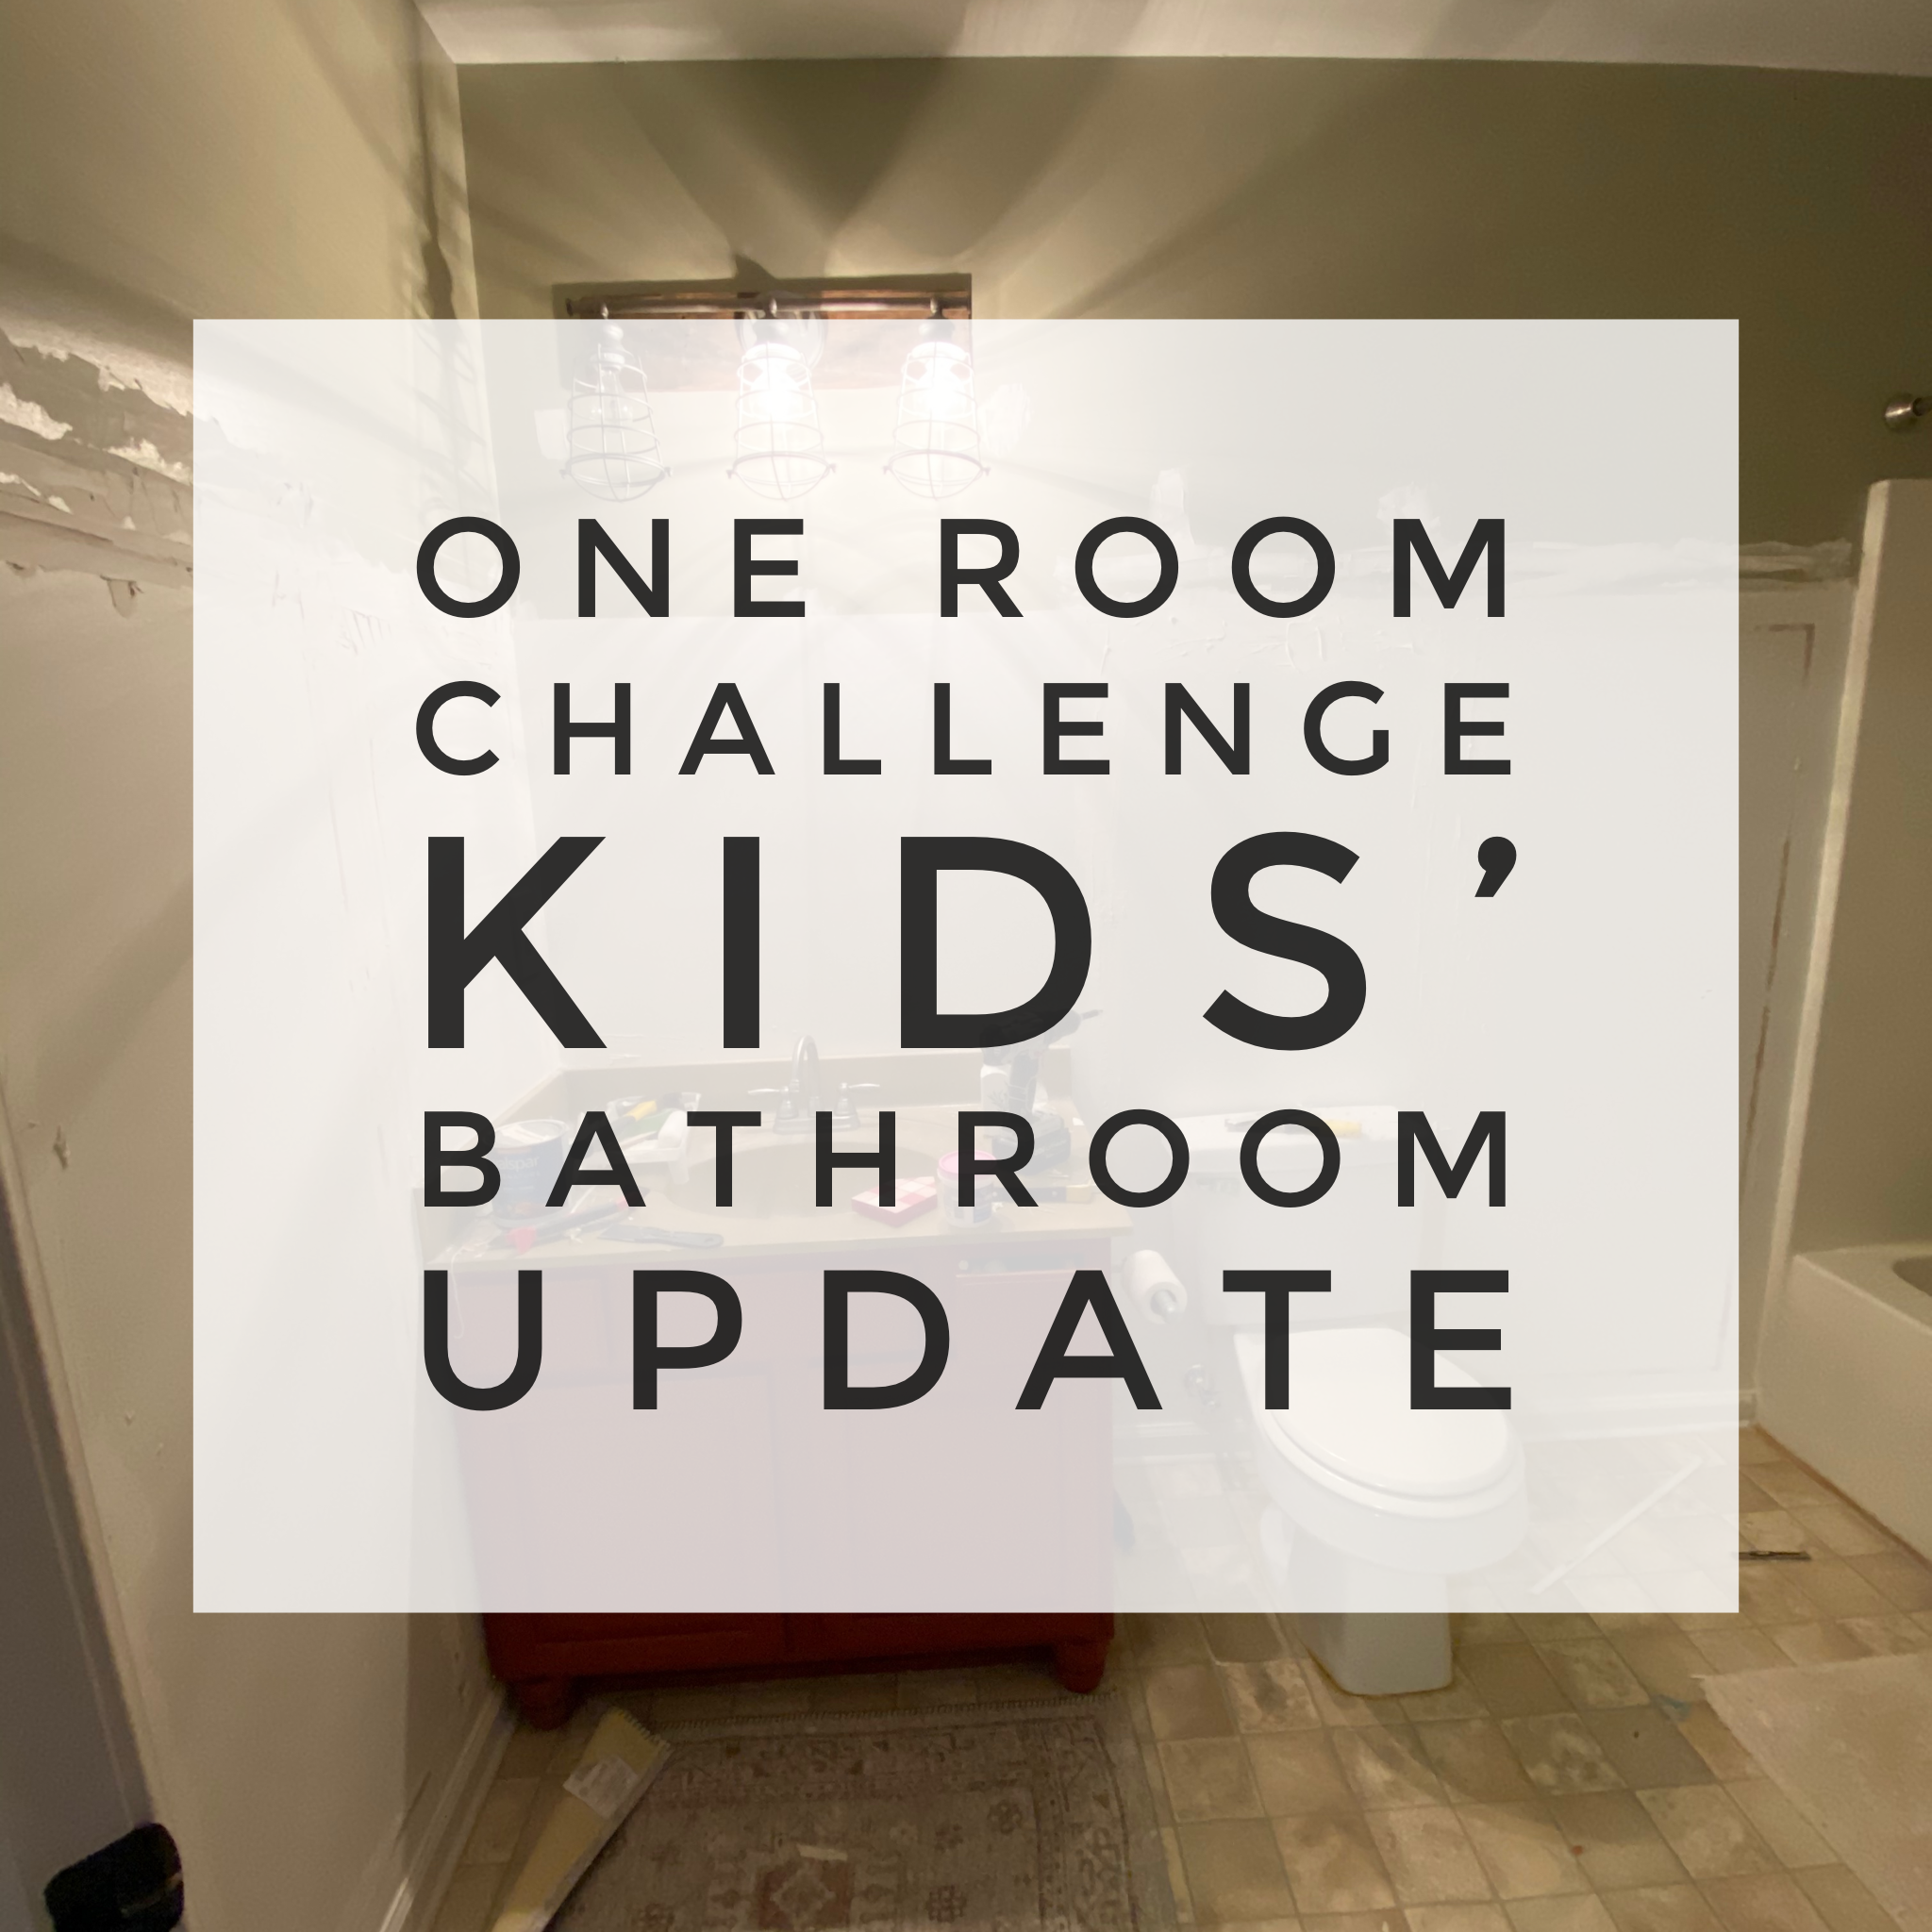
Progress has been slow for the kids bathroom, but some has been made! I cannot believe it’s already week 4 of the ORC!


The mirror has been taken down- if you’ve been following along on Instagram stories, the you know the funny story behind that one!
The plan this week was supposed to be to take down the mirror, pull down the top trim, and paint the top portion of the wall on the sink side. My intention was to do that part really quickly so that I could pull the light down, paint it, and get it back up to have access to that light for the rest of the project.

I did get the top part of the trim down… but it took a “if you give a mouse a cookie” turn after that.


All of the trim from the sink wall and the one between the sink and the door ended up getting removed. I got it patched, albeit not well. I came across this post a little too late, but thought that it had such good information that I wish I’d seen it sooner.
Again, if you followed along on stories, you have seen the options for the layout of board and batten.

Option one would basically follow along the Ana slimes as the old trim work. It would make it unevenly spaced, but it would work around the “unmovable” pieces like the toilet and vanity.

Option two would space everything out into three even spaces. This would make it run short on the vanity and toilet.
I had you all vote, and option 2 won out… BUT I think I’m doing option 1. I love the evenness of option 2, but I think that ultimately, it will looks more intentional to not have shouts boards that run into the toilet and counter.

I want the trim work to be done very well this time. The first update we did was our second experience with trim. Our first was the downstairs powder room- that is still a HOT mess. We purchased our miter saw for the guest bathroom project and it made a big difference! We had cut all of our angles for the powder room with a miter box. I cant even imagine going back to that!
Anyway, here’s a little of what I wasn’t happy with about the current trim work:


I’m excited to give this bathroom more of an intentional update. The only part when all is said and done that we are not currently doing is replacing the tub- which is not a big deal to me, honestly.

We did pick up the lumber for the trim work. Lumber prices are out of control, so we opted to use furring strips.
Furring strips are less expensive because they are rough and are not squared (the edges are more rounded vs the square edge). I feel confident that they will look great because some of my inspiration blog posts shared that they also used furring strips! I will be sanding and filling to prep them before hanging them up.
So that’s where we are this week! Nothing super excited to look at, but the necessary (boring) work is getting done. I have a feeling all of the fun stuff is going to be rolling one right after the other very quickly!
See you next week! Make sure you check out what the other ORC participants are up to here!
