Today, we are going to be updating a thrifted pottery vase!
I jumped at the chance to snag this HUGE pottery piece at Goodwill.

It even came with a few floral fillers! Although, the wheat is all I kept, but even they were a tad to small to be displayed in this piece.
The style wasn’t really for me, but the shape and the size for the $10 price had me instantly sold!

While I wasn’t opposed to the color it was, I really wanted to get rid of the design. I wanted the end look to be a smooth, stoney texture all the way down.
Two things were used to accomplish this: plaster of Paris and caulk. (Yes, caulk!)
To start, I quite literally slapped some plaster of Paris on the case and used my gloved hands to spread the mixture all over, filling in all of the designs to make a smooth surface.

As you can see in the image above, the plaster did a decent job filling in the design, but it still needed more. This is where the caulk came in.

The caulk was applied in a squiggly pattern, and I used a gloved hand to spread all over it in more of an up and down motion to really get the crevices covered and filled from all angles.

Above is how it looked before I started painting.
Once everything was dry, I applied a light grey chalk paint all over. (Specifically, it was Waverley chalk paint in the color mineral)

After the mineral color, I dry brushed some white chalk paint lightly all over.

After that, I used some of the Waverley antiquing wax to create a more aged/found pottery look. I used a chippy brush and a very light hand.

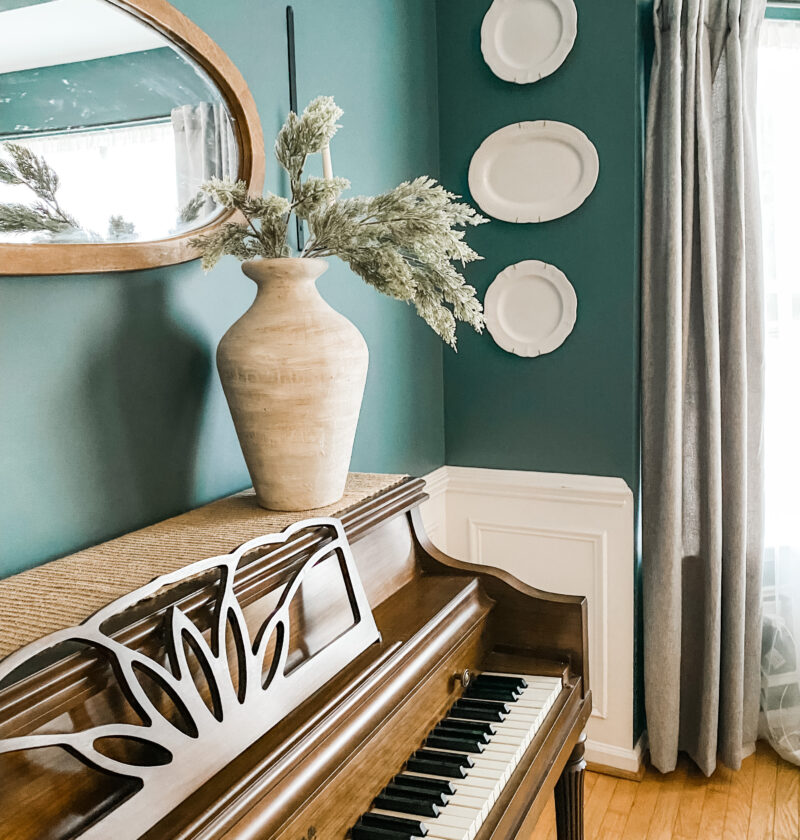
Here is the final look!

Here are a few other looks the vase has sported over the seasons:

I’m so pleased with how it turned out, and I’ve really enjoyed styling it through the different seasons.


Check out more decorating ideas here! Looking for some DIY Inspo? Check it out here!