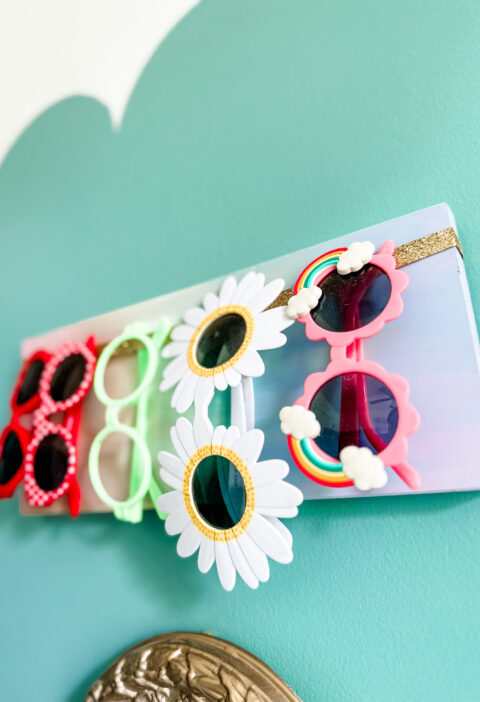
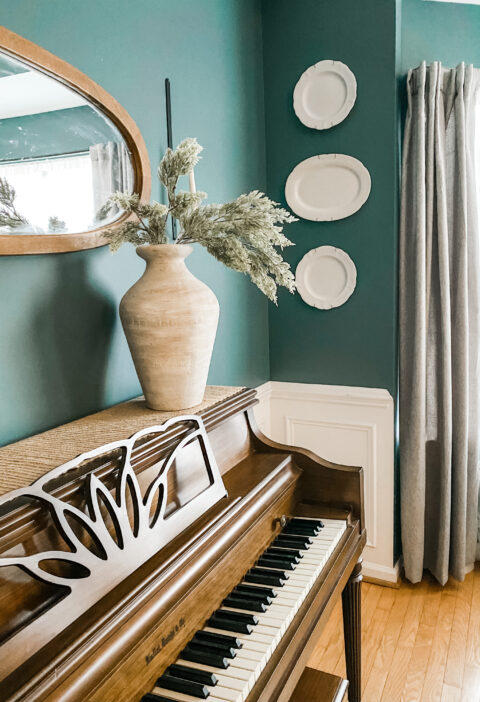
Today, I want to share how to paint a scalloped border. While planning my daughters big girl room, I had these images pinned on my Pinterest board:
In my preparation stage, I was looking up the various ways that I could create my own scalloped border.
I could purchase stickers from Etsy like the pink and gold wall above.
I also found (and truly considered) using these stencils to help speed up the process.
Ultimately, I decided to DIY it… are you surprised? (lol!)
I went to my kitchen and grabbed a bowl. Also, I grabbed a pencil, some painters tap, and the longest level we had.
I had already painted the top portion of the wall the desired color: white.
Golden Ratio
Whenever I am doing a wall treatment that is not the entire wall, I follow the golden ratio rule. Basically, things look best to the eye if they are divided into or grouped in thirds. Because I knew I wanted the border to also be on the doors in the room, I started with them. Specifically, it was the closet doors. I tested the bowl out in the space between the top and middle panels.

Step 1: line around the room
It fit, so I started by marking a line all the way around the room that lined up with the bottom of the middle panel.

I used my level to make sure it was straight all the way around the room.

Once that was done, I retuned to the closet doors. The split between the two was going to be my starting point. I wants the end of the scallops to meet at the split, not be divided up in a funky way.
Step 2: Making a stencil out of a bowl

In the photo above I was showing how I marked on the bowl oneself where the bottom of the scallop hit.

I put tape across it so that I could easily line it up with the penciled lines on the wall. In the photo above, the shades in part is what I was tracing essentially.

I drew an arrow on tape so that I could easily see which was I needed to hold it on the wall.

I just went around the room tracing the bowl. To work around the corners, I traced the part of the bowl I was using onto a pice of paper and cute it out. Then I just folded it into or around corners as needed and traced around it.

Step 3: Time to Paint!
Once I had traced the outline all around the room, I started painting it in using a craft brush.

This part took quite a while, I’m not going to lie!

Once I had it all painted in, I rolled the rest of the wall below.

While it was a time consuming project, it was pretty easy. The “hardest” part was free handing the curve on each scallop with paint.

Share your thoughts or questions in the comments!


