This week, something fun FINALLY got to happen! Painting happened!

The top portion of the room was painted with a base coat of white (Valspar Clean White) and then sponge painted. It took all week to get to the point of sponge painting. As you can see in the photo above, even after about 4 coats, you could still see streaks. This was extremely frustrating because the old color was NOT dark or should have been hard to cover at all. Part of the deal with this project is using things I had on hand vs. purchasing.

For white paint, what I had on hand was Valspar semi gloss paint in Clean White. I am not a fan of Valspar for anything that requires more than a sample of paint. I am very much a Sherwin Williams fan. Their paint is high quality, and if you shop it on one of their often run sales, you can get it for the same price as a can of Valspar from Lowe’s.
Anyway, it literally took more than a quart of paint and about 6 coats to FINALLY get it all covered.
I also decided towards the end to paint a couple coats on the ceiling as well. The multiple shades of white in the bathroom were becoming glaringly obvious, so freshening up the paint on the ceiling and letting it blend right into the top of the wall was one way to help calm down some of the competing shades.
With the base coat done, it was finally tome to get to the fun part… sponge painting!
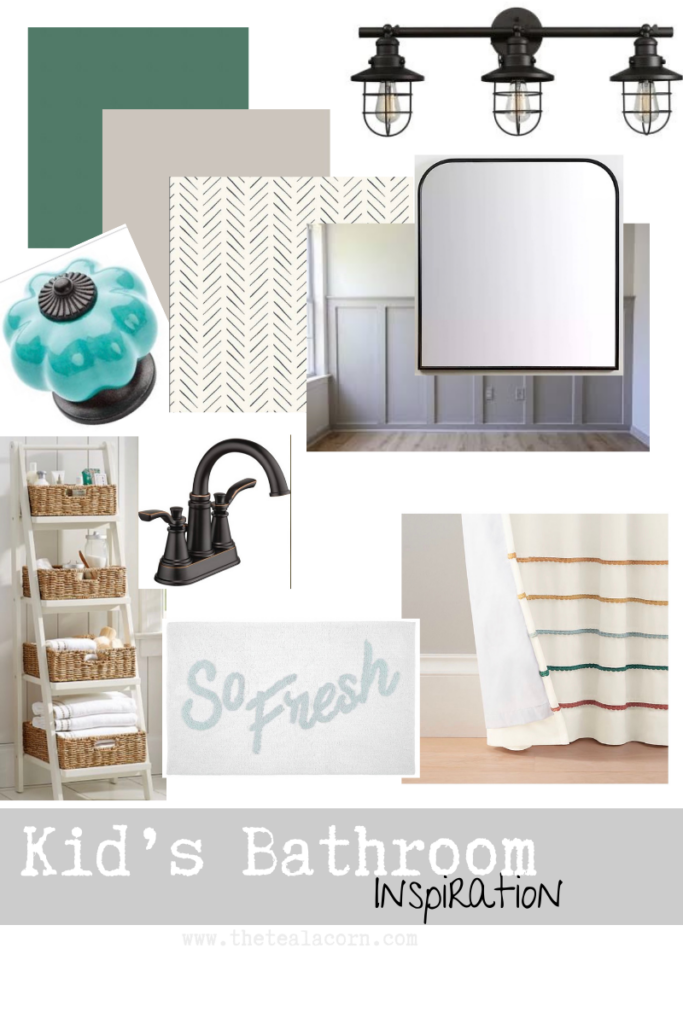
Initially, I’d planned to paint the design below

But then, I saw Bethany from @tateremade paint her ceiling with more of this pattern:

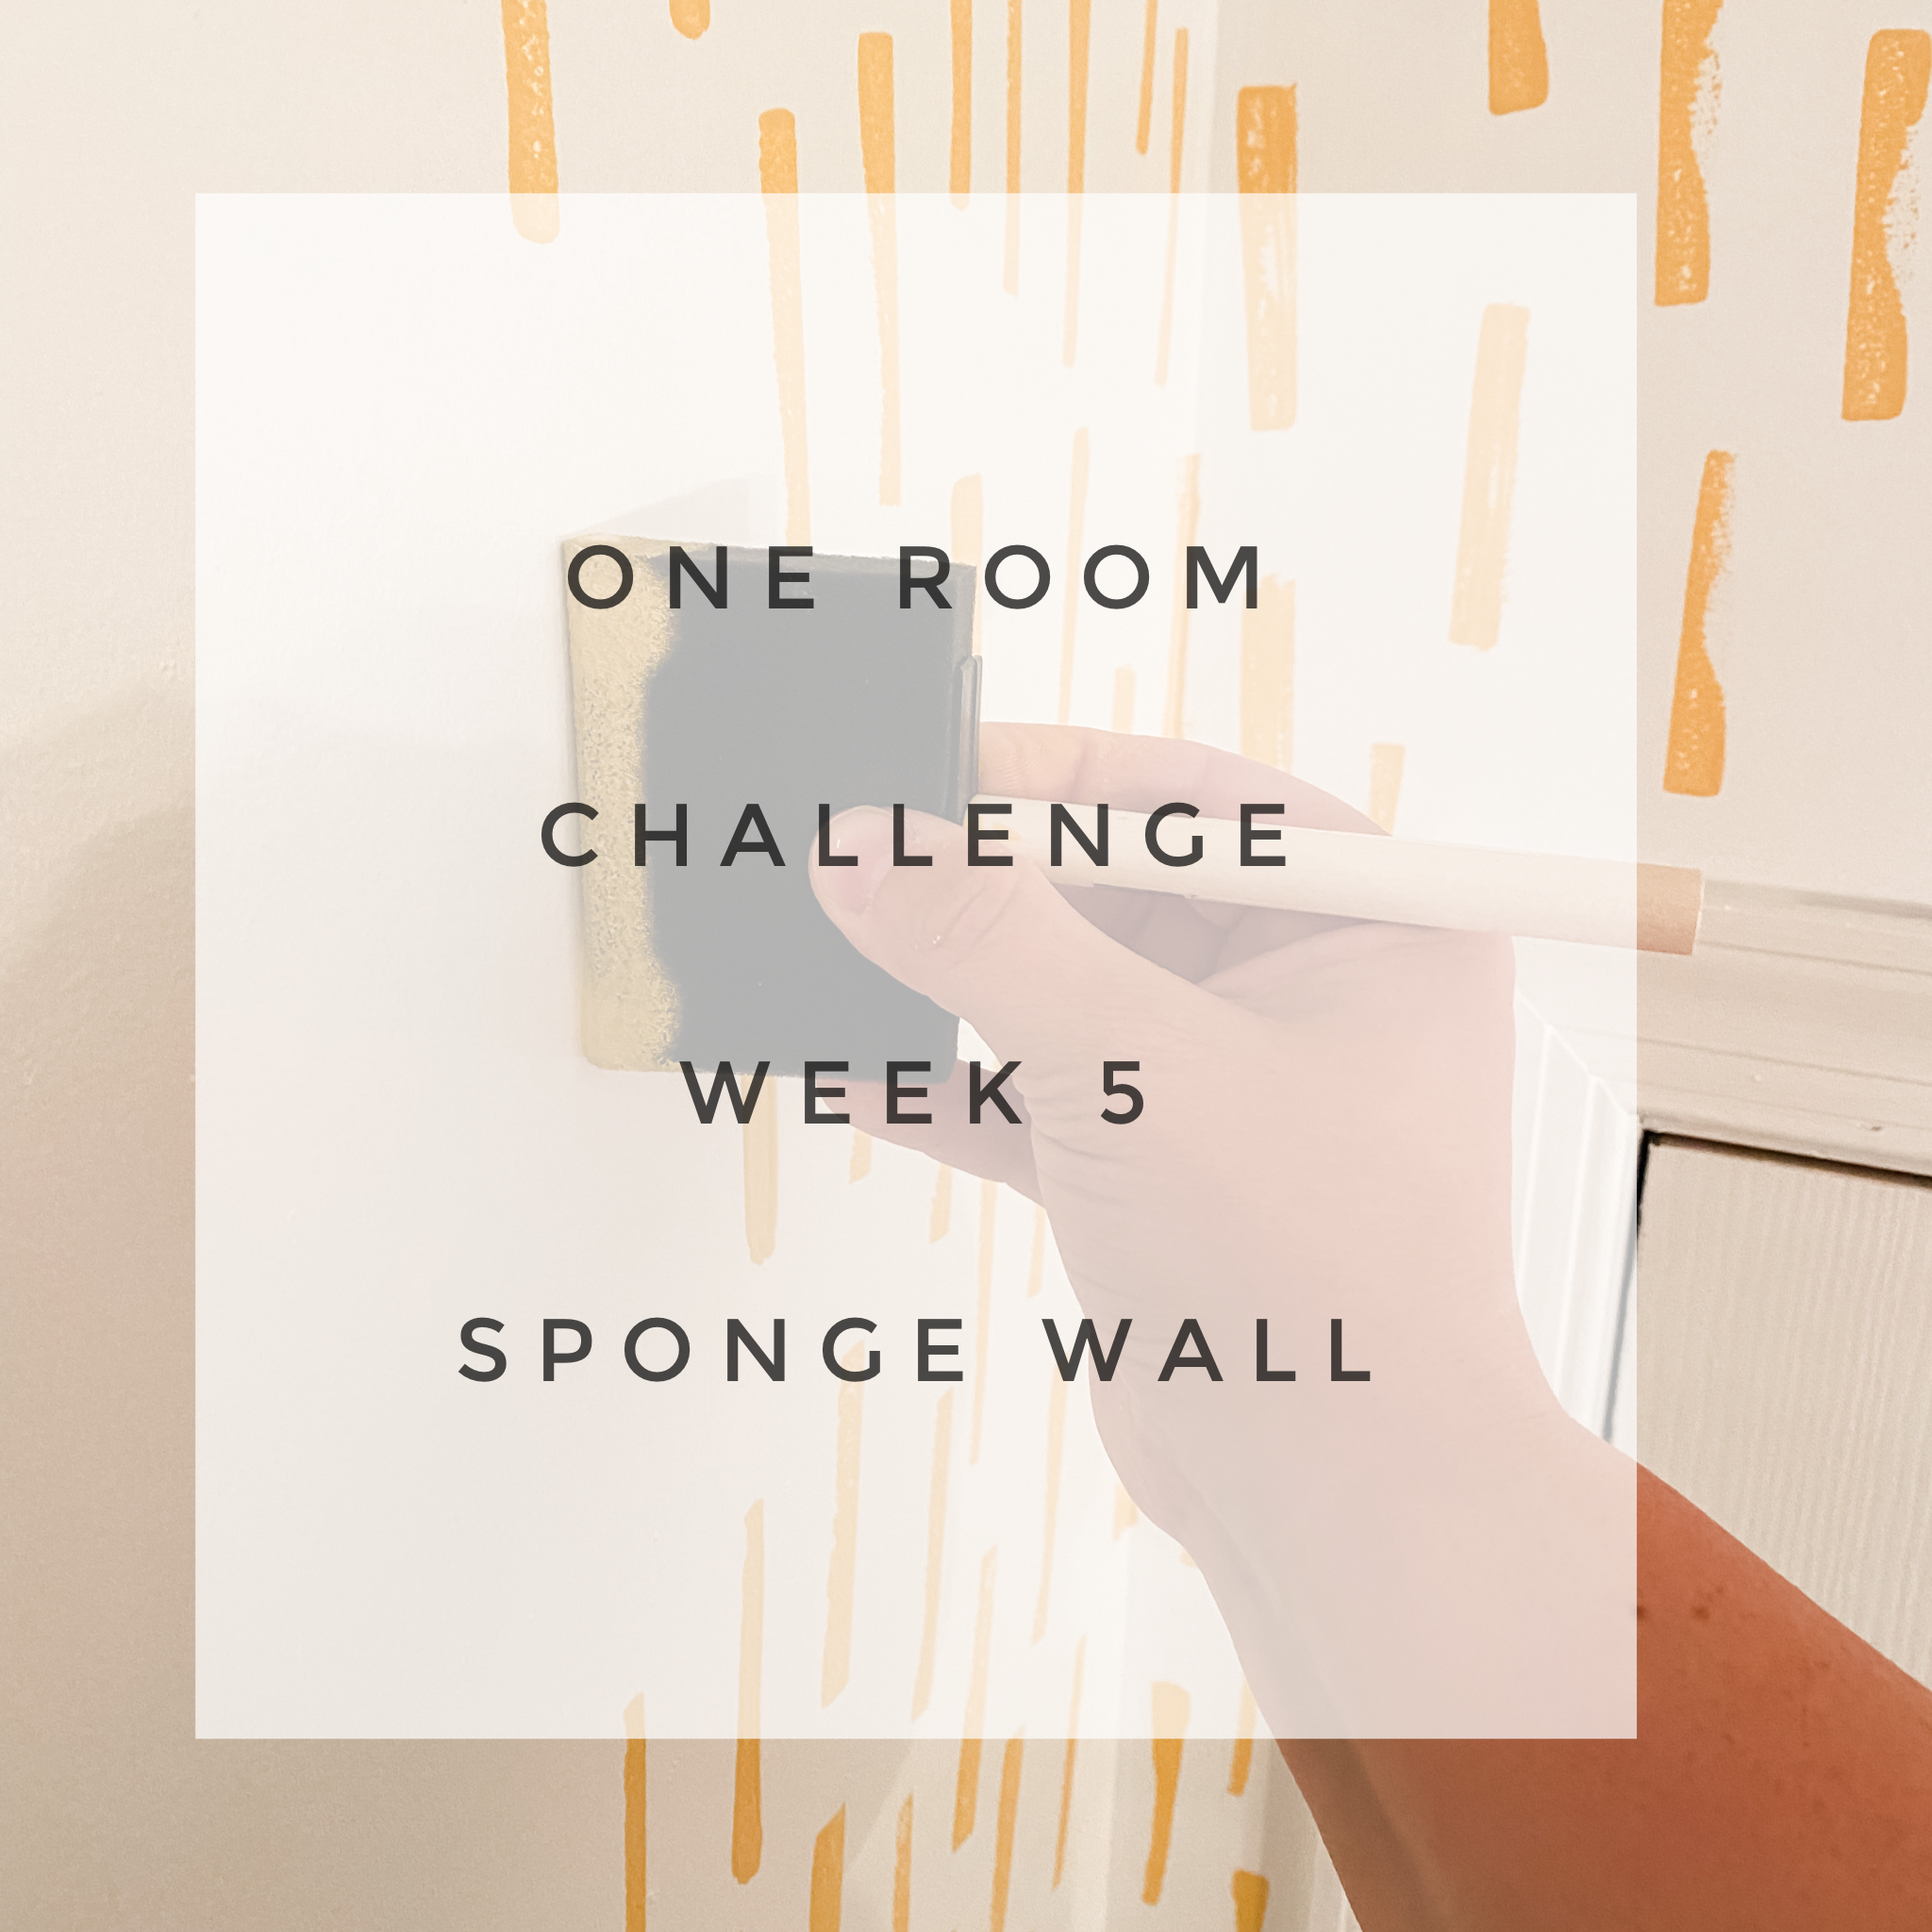
Normally when I’ve seen this pattern, it was done using a paint brush and swiping down. Bethany did it using a sponge BRUSH and that made it a game changer for me. I felt like I could control the pattern better than if I was using an actual bristle brush.

After seeing Bethany’s ceiling, I couldn’t stop thinking about changing the design plan for the bathroom. I kept envisioning it in a tangerine shade, so it would also be adding a new color to the plan…

Well…

I think it was the right decision! I LOVE this look. It still has a wallpaper feel, but it added a little more whimsy to the room. Plus, it was a lot easier than I think the chevron pattern would have been. The randomness of the sponge pattern didn’t the require anything to be perfectly straight or lined up.

I picked up a sample of Sherwin Williams Mango Cooler and a 3” sponge brush. The biggest thing to remember was to wipe the excess paint off of the brush after each dip so that it didn’t cause any drips.
I cannot wait to get the board and batten up and painted- I have Sherwin Williams paint on deck for that, so it shouldn’t take nearly as long to get to the final coat.
And that’s a wrap on week 6! This challenge has flown by, and I need to really buckle down this week to have a chance to finish on time!
Don’t forget to see how everyone else is doing with the challenge!